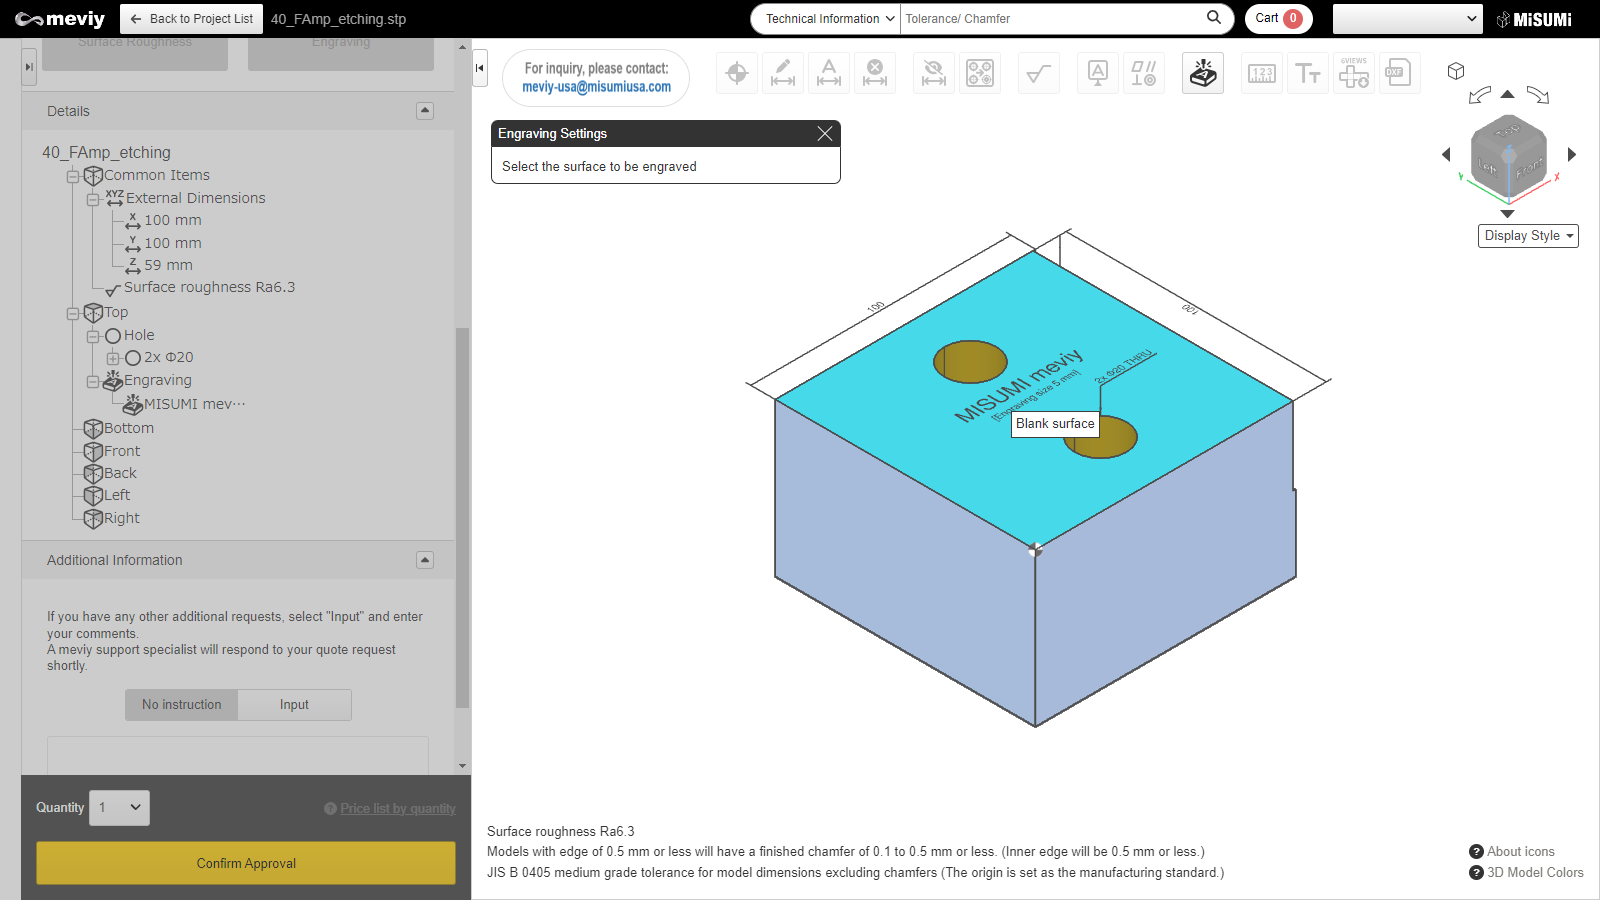
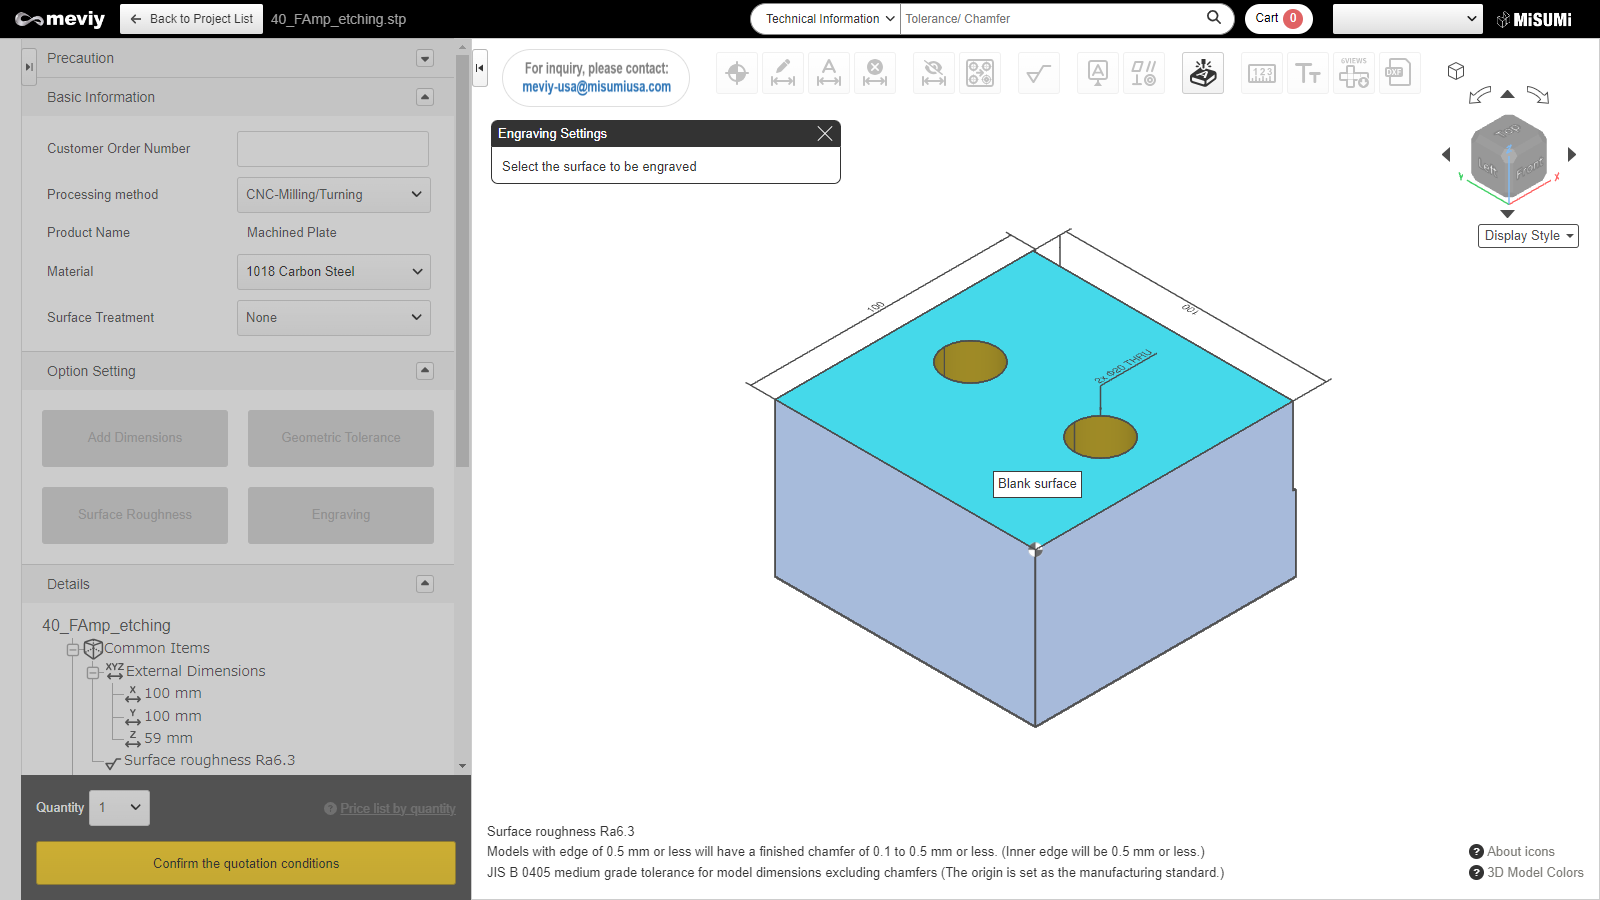
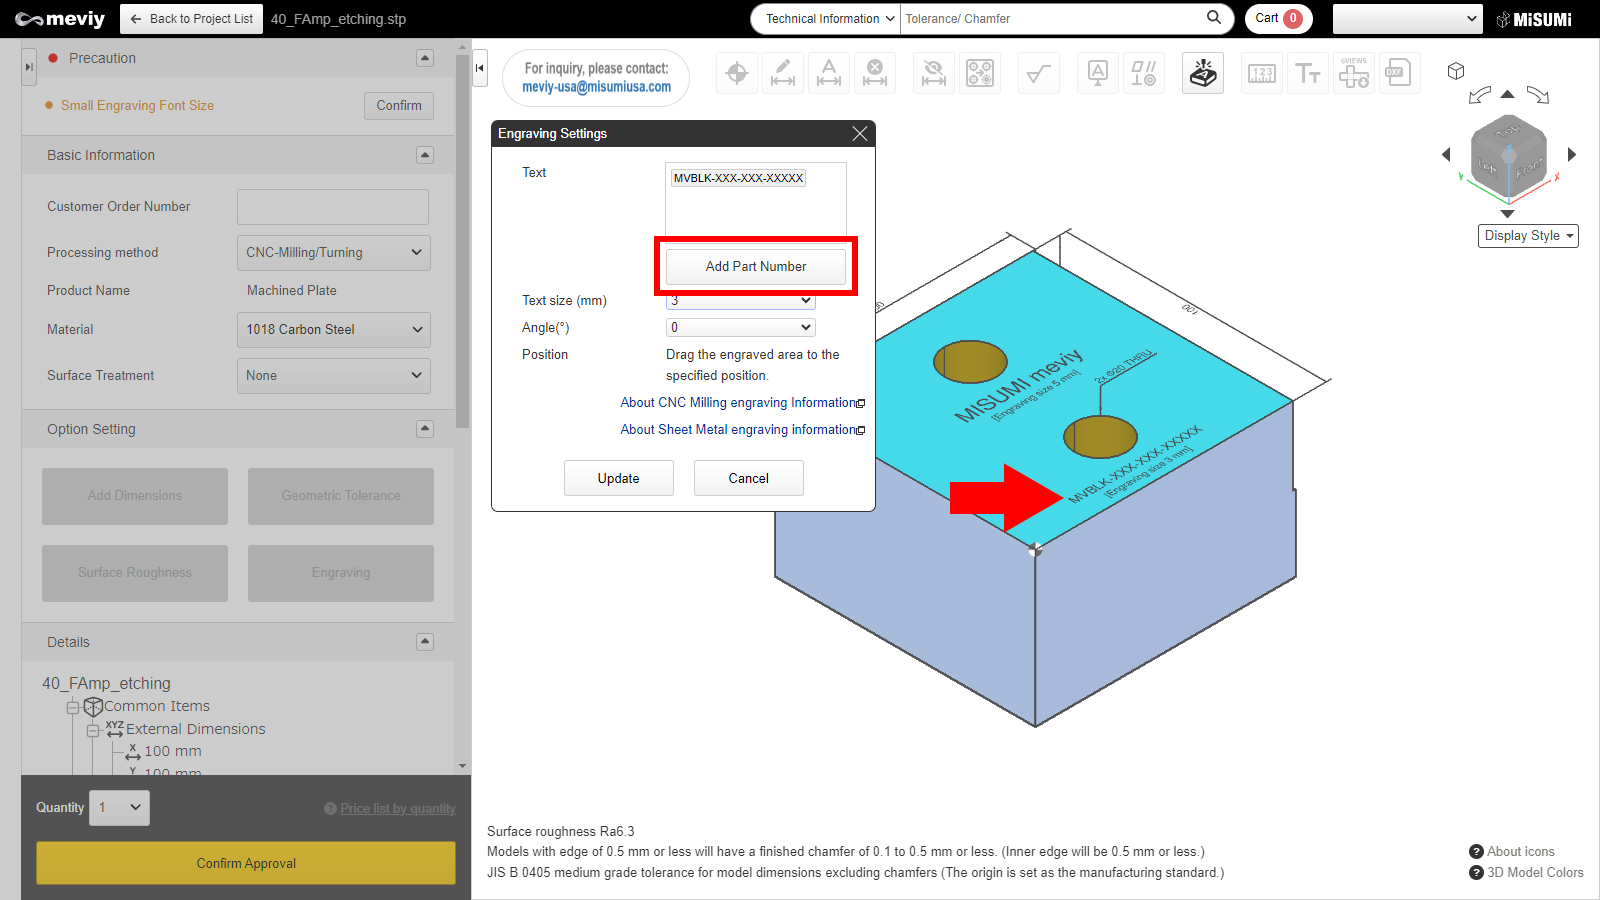
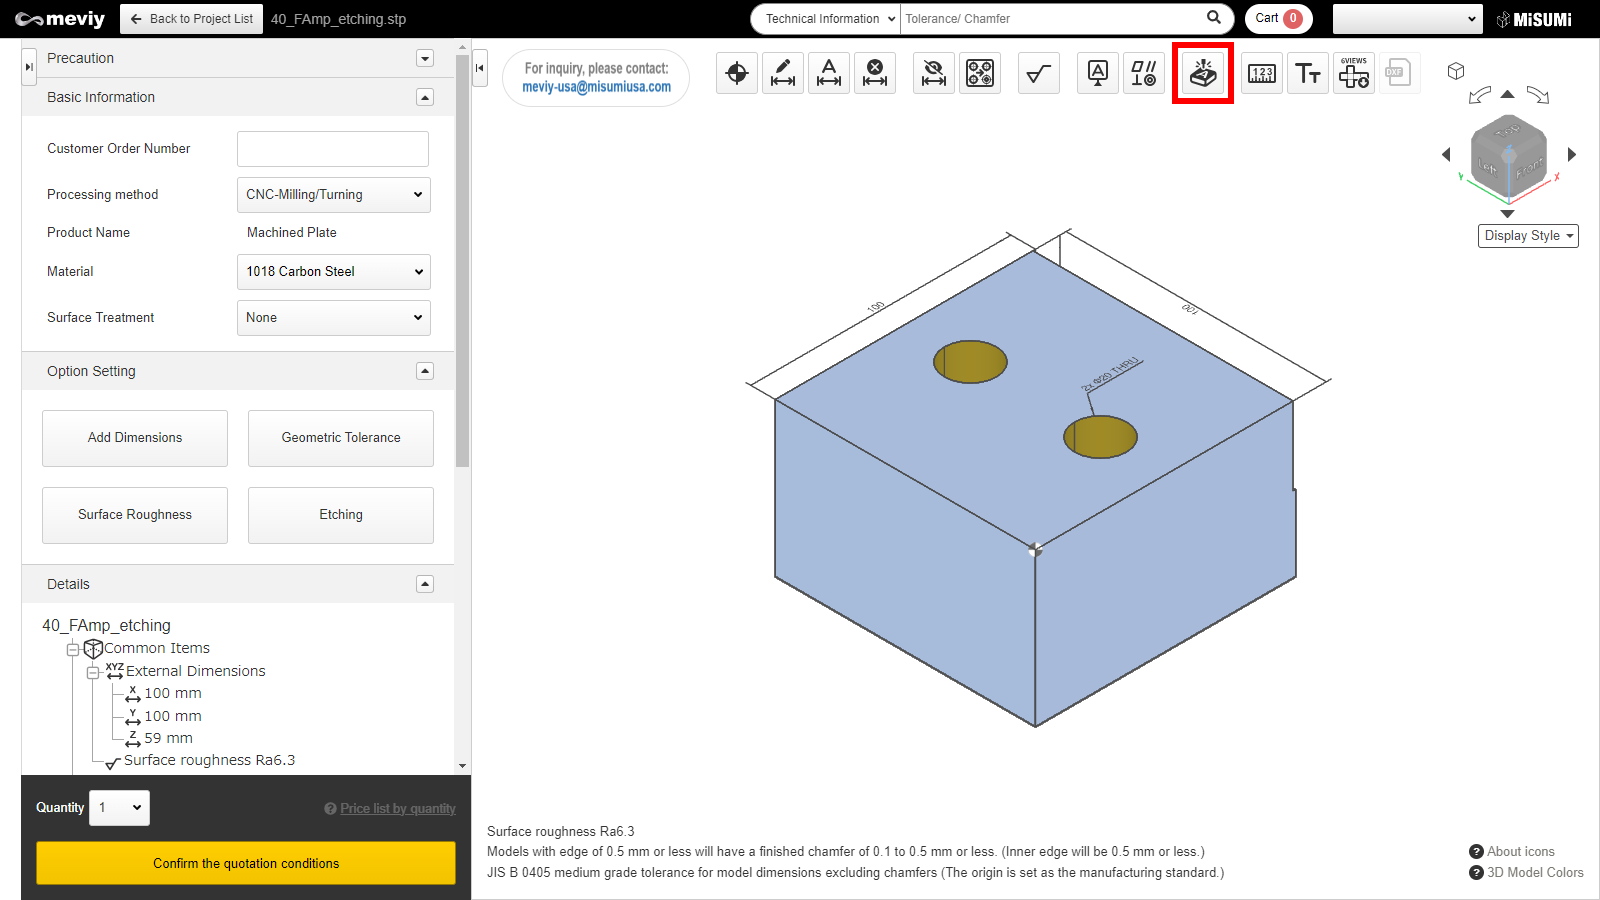
Set etching
How to set up etching

STEP1 Select icon
- Select the
icon from the icons at the top.
- You can also use the shortcut key (E).
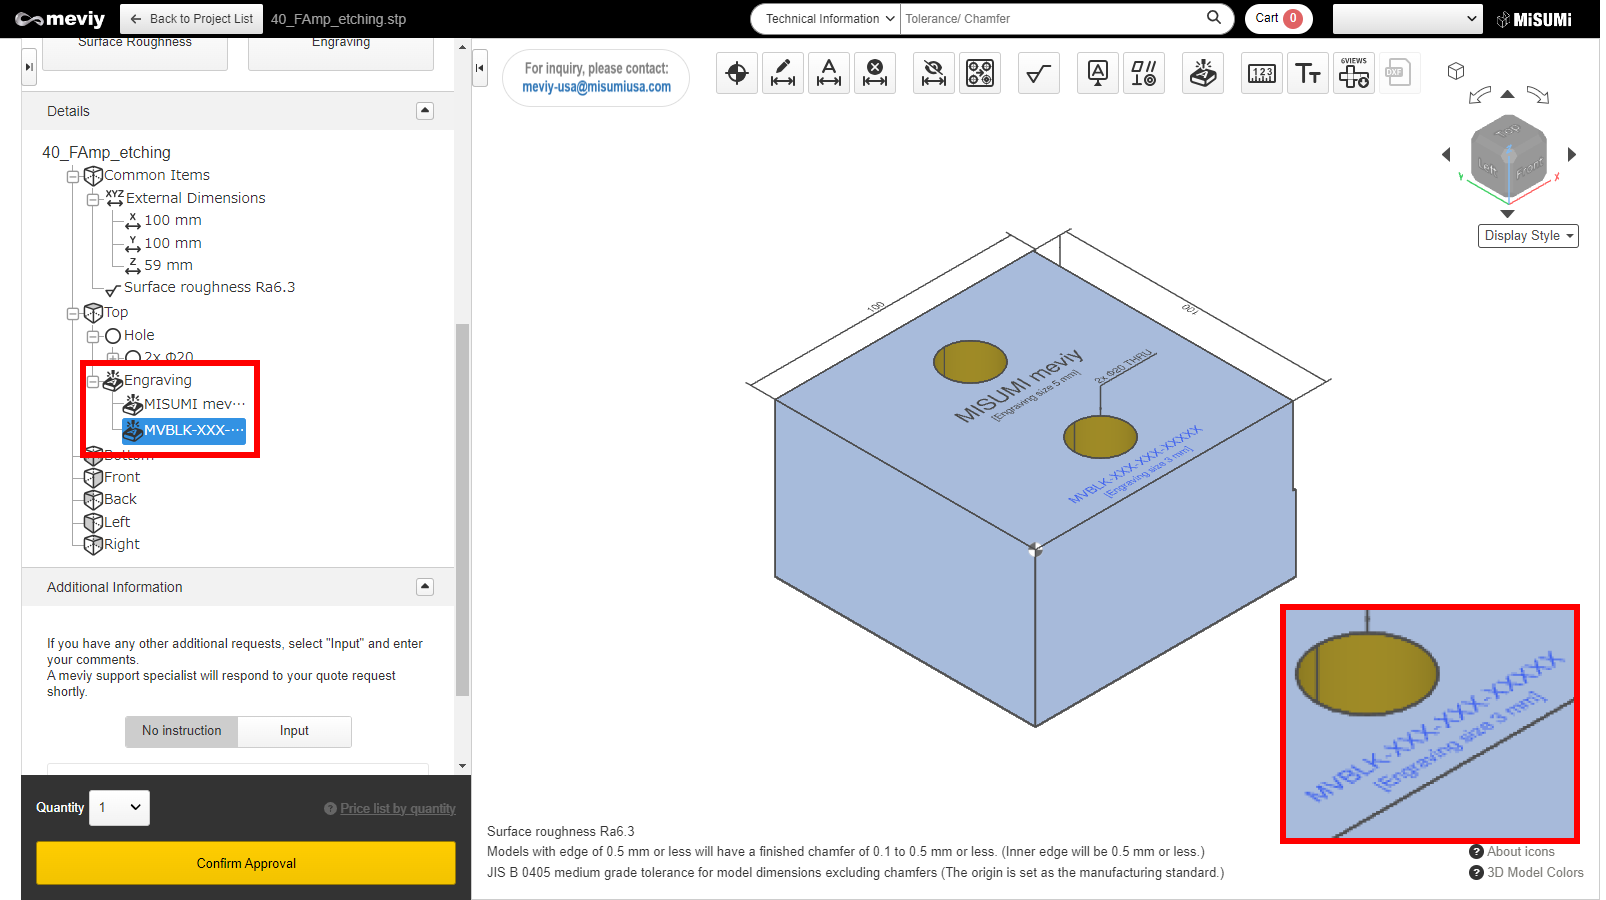
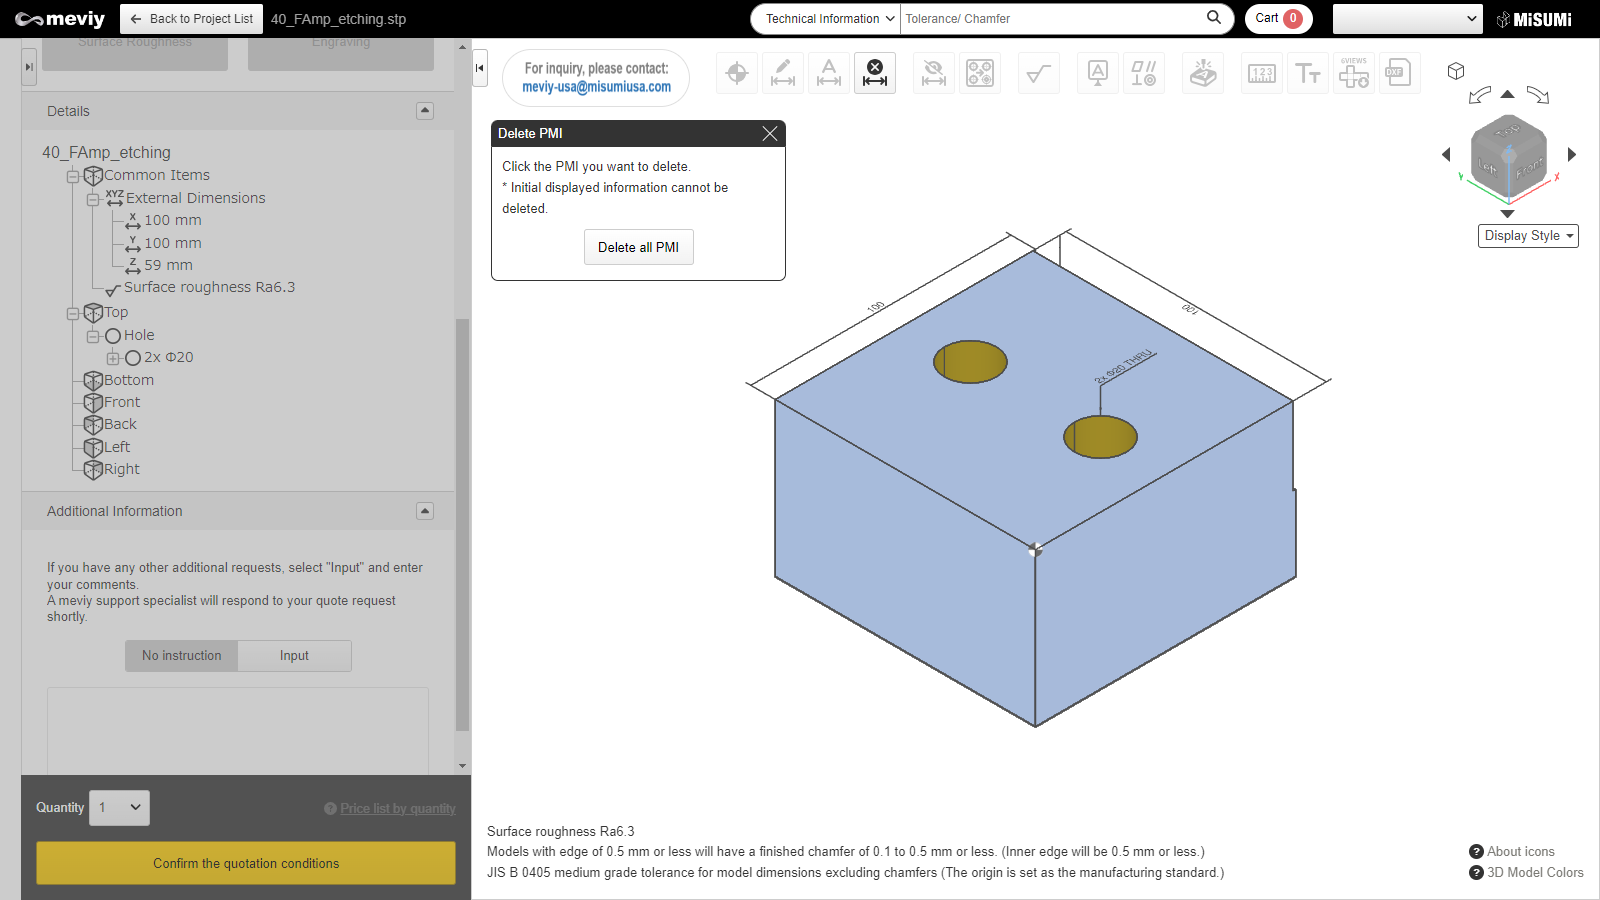
STEP2 Etching surface selection
- Select the surface you want to etch.
- When you hover the cursor over a selectable surface, the surface is highlighted.

STEP3 Etching specification setting
- Enter the text you wish to etch.
- The position can be moved within the area of the face, along with specifying the text size and angle. After specifying, click “Update”.
Caution
Characters that can be entered in the dialog are single-byte alphanumeric characters and some symbols (+-. #$%&()=*:? /_~).
STEP4 Completion of etching setup
You can see the set etches on the 3D Viewer model and in the tree view.
How to delete

STEP1 Select icon
- Select the
icon from the icons at the top.
- You can also use the shortcut key (D).

STEP2 Select etching
- The message “Click on the PMI you want to delete.” will be displayed, then
select the etches you want to delete. - When the cursor is over an etch, the corresponding etch will glow blue.
- Clicking will delete it.
Caution
Please note that clicking the “Delete Custom PMI” button will delete all PMIs you have set.
STEP3 Finish deleting
Deletion completed.

STEP4 End of dimension deletion
Press the Esc key or the X button to exit dimension deletion.