- HELP
- How to use
- Quotation conditions settings
- [Sheet metal] Quotation Settings
- How to Use the 3D Viewer
How to Use the 3D Viewer
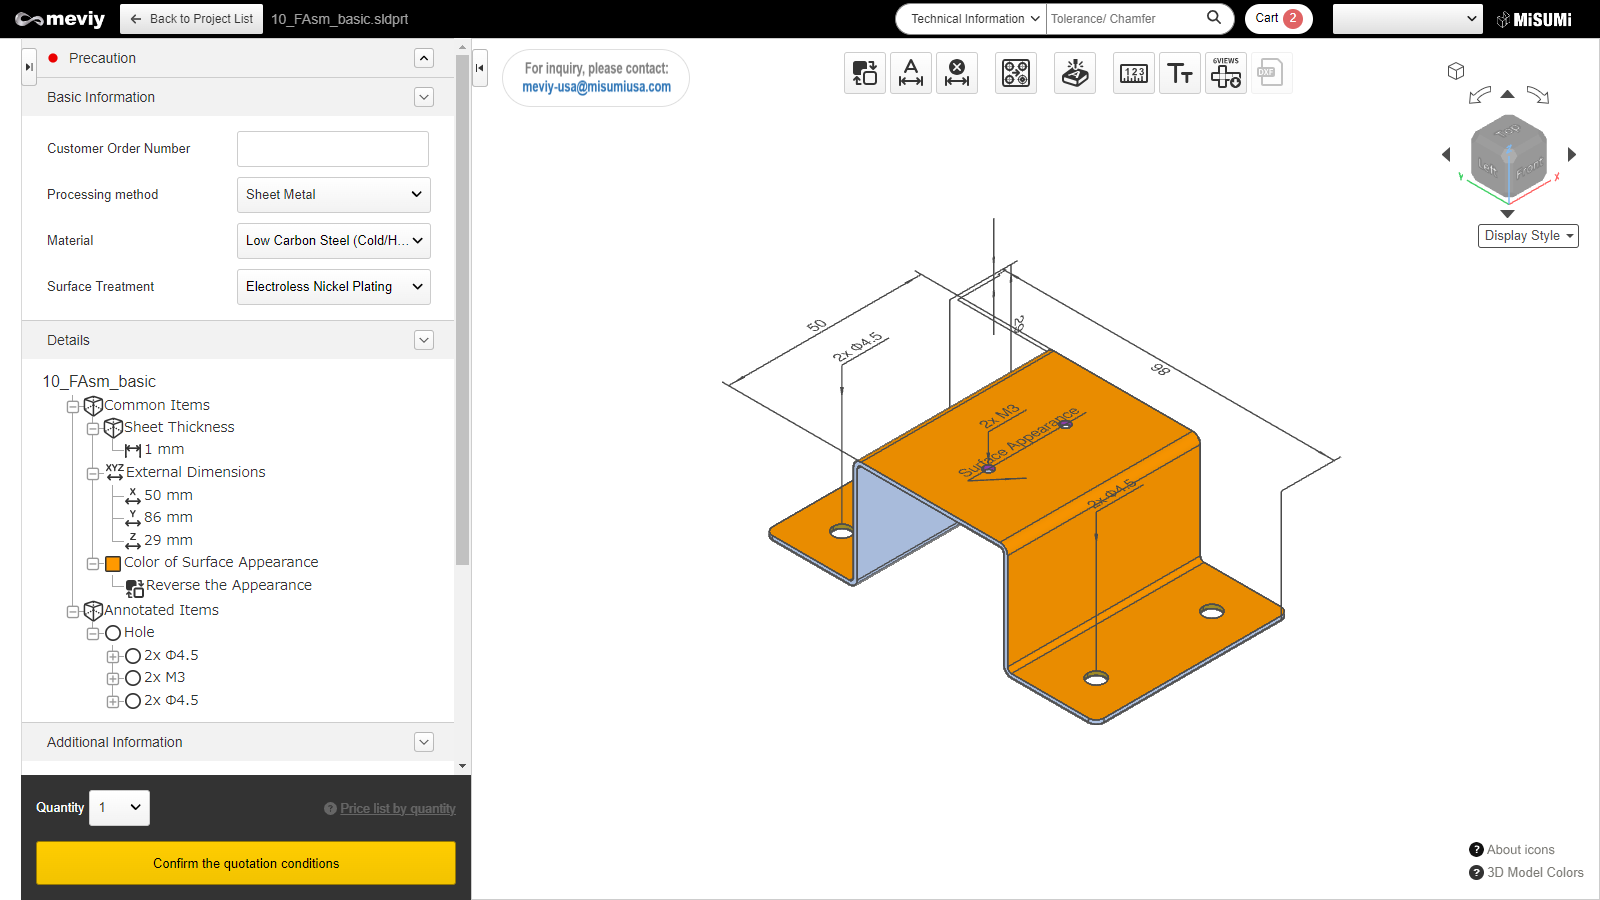

| Function Name | What You Can Do |
|---|---|
|
If the external appearance faces identified by meviy (faces colored in dark orange) are different from what you expected, you can invert the internal and external faces. |
|
Batch add coordinate dimensions. → Adding Dimensions*No dimensions will be added to faces which are at an oblique angle. |
|
Remove added dimensions. → Adding/Removing Dimensions |
|
You can split holes grouped during shape recognition. → Splitting Grouped Holes |
| Function Name | What You Can Do |
|---|---|
|
Add engraving. → “Set engraving“ *Can only be added on appearance surface |
|
This function allows measurement of models uploaded.→Measuring 3D models |
|
You can change the font size → changing font size |
|
Download image files that capture each orthogonal direction of the 3D models and arrange them via 3rd angle projection. |
|
Generate and output 2D DXF after part number is issued. → “Download 2D DXF File” |
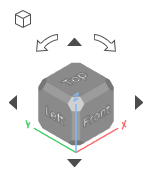
Rotate the cube to change the orientation of the currently displayed parts.
Click ![]() [Isometric View] to return to the isometric view (default orientation).
[Isometric View] to return to the isometric view (default orientation).
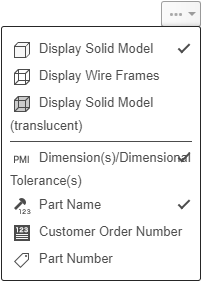
Move the mouse over the ![]() icon to display the display settings menu. Here you can change the 3D model display method and toggle between displaying or hiding text information in the 3D viewer.
icon to display the display settings menu. Here you can change the 3D model display method and toggle between displaying or hiding text information in the 3D viewer.