- HELP
- Technical Information
- CNC Turning
- Design Guidelines
- Rules for Dimension Notation in the 3D Viewer
Rules for Dimension Notation in the 3D Viewer
The rules for displaying dimensions relating to outer diameters, inner diameters, surface roughness and holes are as follows.
Outer-Most Diameter (Non-Precision)
| Settings | Non-precision | ||||
|---|---|---|---|---|---|
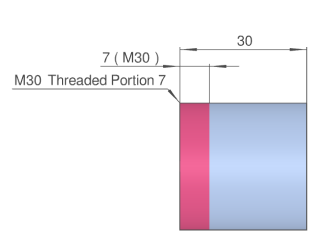
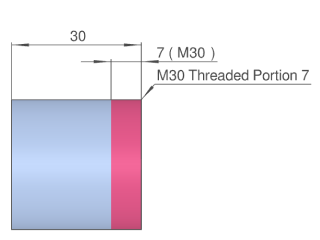
| Thread Length Settings | |||||
| Specified length on left side | Specified length on right side | Specified length on both sides | Fully threaded | ||
| Image | 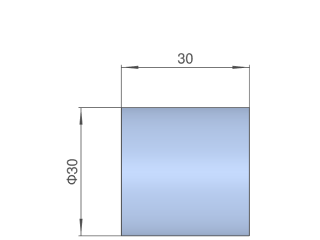 |
 |
 |
 |
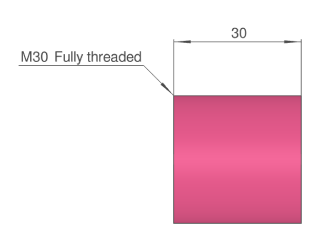 |
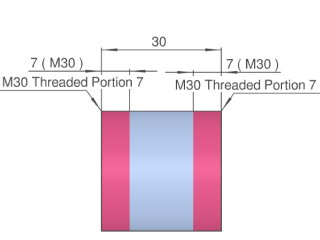
| Set Value | ø30 | ||||
| M30 Thread Length 7|7(M30) | M30 Thread Length 7|7(M30) | ||||
| M30 Thread Length 7|7(M30) | M30 Thread Length 7|7(M30) | M30 Fully threaded | |||
Tip
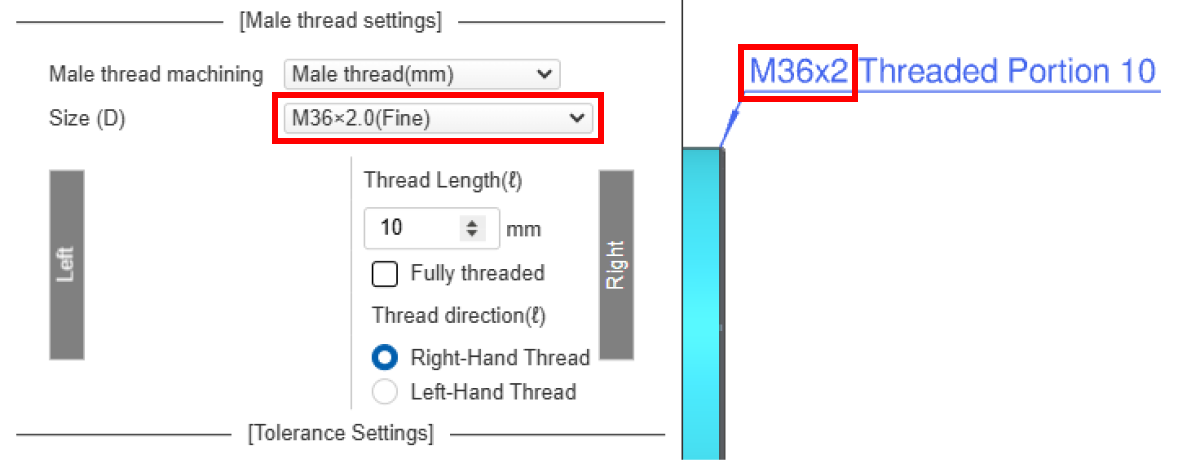
When setting the threads in meviy, fine pictch is displayed and coarse pitch is hidden.
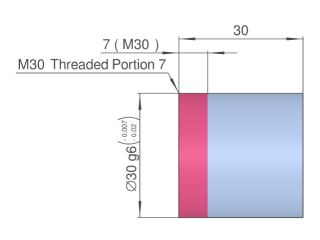
Outer-Most Diameter (Non-Precision)
| Settings | Precision | ||||
|---|---|---|---|---|---|
| Thread Length Settings | |||||
| Specified length on left side | Specified length on right side | Specified length on both sides | Fully threaded | ||
| Image | 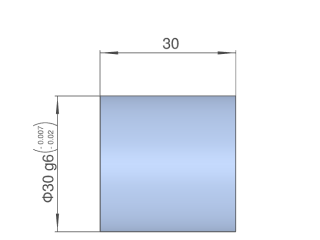 |
 |
 |
 |
|
| Set Value | ø30 g6 (-0.007/-0.02) | ø30 g6 (-0.007/-0.02) | ø30 g6 (-0.007/-0.02) | ø30 g6 (-0.007/-0.02) | |
| M30 Thread Length 7|7(M30) | M30 Thread Length 7|7(M30) | M30 Thread Length 7|7(M30) | |||
| M30 Thread Length 7|7(M30) | |||||
Outer Diameter
| Settings | Non-precision | Precision | |||
|---|---|---|---|---|---|
| Thread Length Settings | Thread Length Settings | ||||
| Specified Length | Fully threaded | Specified Length | |||
| Image | 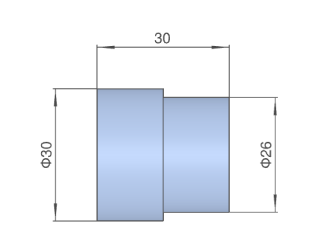 |  |  | 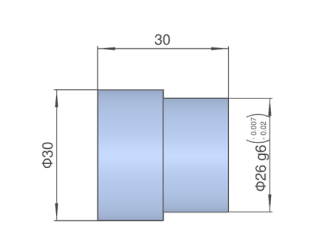 | 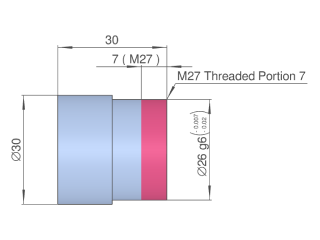 |
| Set Value | ø26 | ø26 g6 (-0.007/-0.02) | ø26 g6 (-0.007/-0.02) | ||
| M27 Thread Length 7|7(M27) | M27 Fully threaded | M27 Thread Length 7|7(M27) | |||
Outer diameter (taper)
| Settings | Non-precision | Tapered pipe thread settings | |
|---|---|---|---|
| ISO Standard | Specified Length | ||
| Image |  | 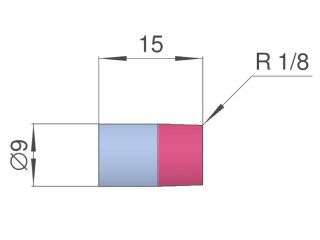 | 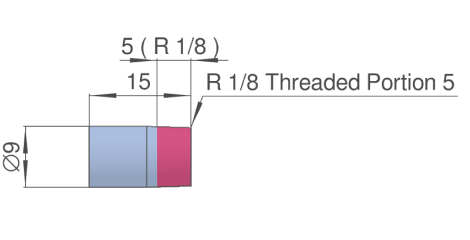 |
| Set Value | ⌀8.89 | R 1/8 | R 1/8 Thread Length 5 |
Groove Outer Diameter
| Settings | Non-precision | Precision |
|---|---|---|
| Image | 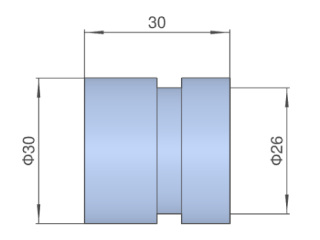 |
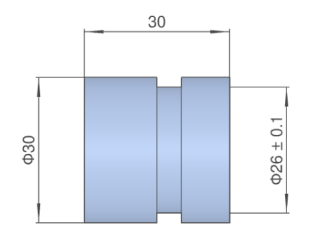 |
| Set Value | ø26 | ø26 ±0.1 |
Inner Diameter (Through, Non-Precision)
| Settings | Non-precision | ||||
|---|---|---|---|---|---|
| Internal Thread Settings | |||||
| Specified effective depth on left side | Specified effective depth on right side | Specified effective depth on both sides | Fully threaded | ||
| Image | 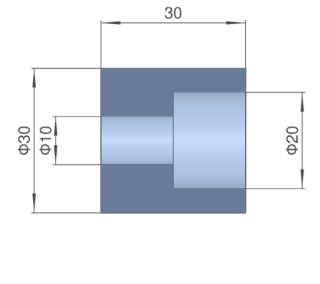 |
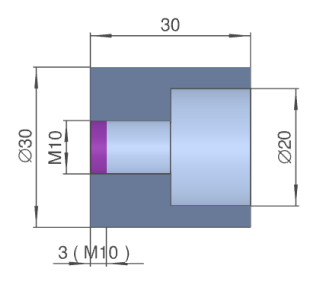 |
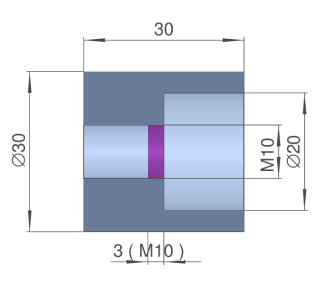 |
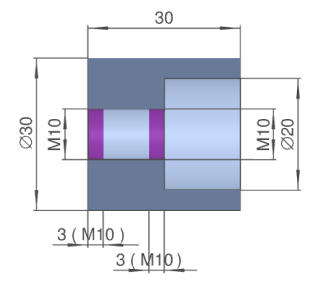 |
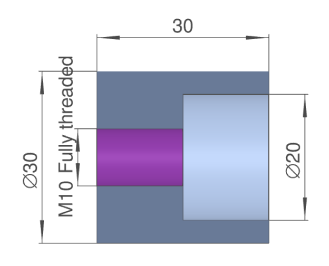 |
| Set Value | ø10 | M10 | M10 | M10/M10 | M10 Fully threaded |
| 3 (M10) | 3 (M10) | 3 (M10)/3 (M10) | |||
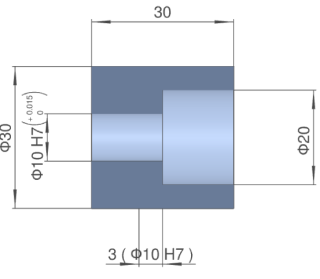
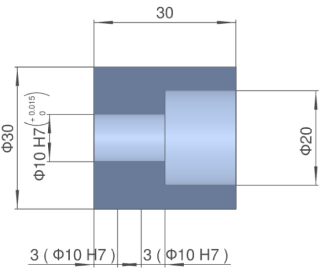
Inner Diameter (Through, Precision)
| Settings | Precision | |||
|---|---|---|---|---|
| Specified effective depth on left side | Specified effective depth on right side | Specified effective depth on both sides | Full Length | |
| Image | 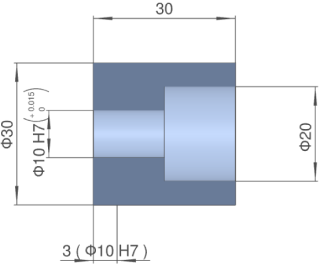 |
 |
 |
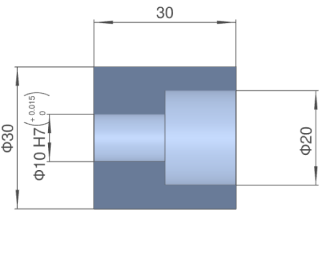 |
| Set Value | ø10H7(+0.015/0) | ø10H7(+0.015/0) | ø10H7(+0.015/0) | ø10H7(+0.015/0) |
| 3(ø10H7) | 3(ø10H7) | 3(ø10H7)/3(ø10H7) | ||
Inner diameter (taper)
| Settings | Non-precision | Tapered pipe thread settings | |
|---|---|---|---|
| ISO Standard | Specified Length | ||
| Image | 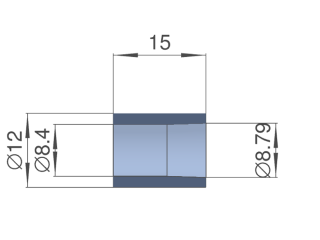 | 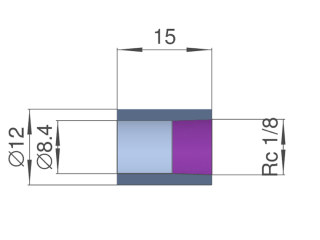 | 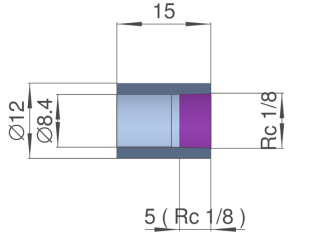 |
| Set Value | ⌀8.89 | R 1/8 | R 1/8 Thread Length 5 |
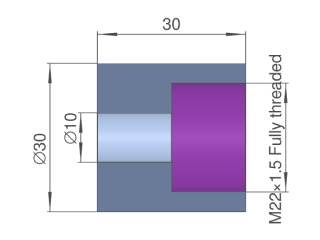
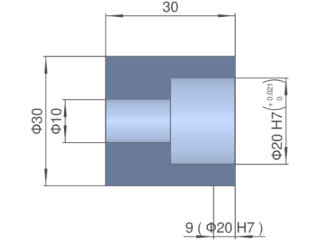
Inner diameter (blind)
| Settings | Non-precision | Precision | |||
|---|---|---|---|---|---|
| Internal Thread Settings | |||||
| Specified depth | Fully threaded | Specified depth | Full Length | ||
| Image | 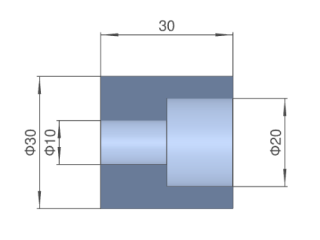 |
 |
 |
 |
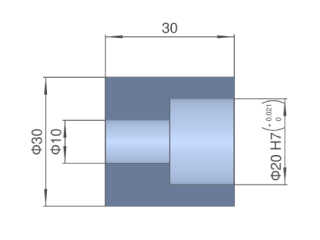 |
| Set Value | ø20 | M22 × 1.5 | M22 × 1.5 Fully threaded | ø20 H7 (+0.0021/0) | ø20 H7 (+0.0021/0) |
| 3 (M22 × 1.5) | 9 (ø20 H7) | ||||
Groove inner diameter
| Settings | Non-precision | Precision |
|---|---|---|
| Image | 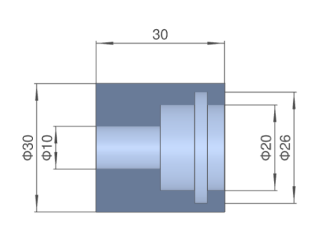 |
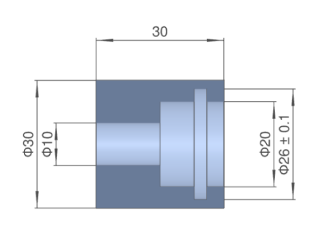 |
| Set Value | ø26 | ø26 ±0.1 |
Surface roughness
| Surface roughness | Ra1.6 | Ra3.2 | Ra6.3 |
|---|---|---|---|
| Image |  |
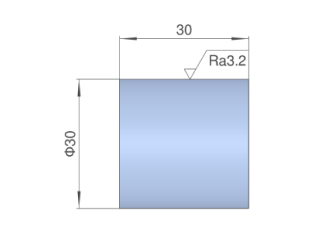 |
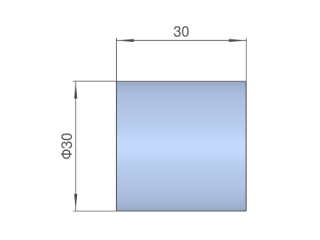 |
| Set Value | Ra1.6 | Ra3.2 | A reference surface roughness value is not displayed |
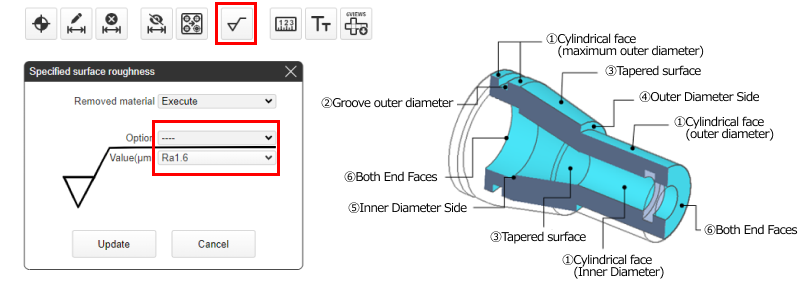
Tip
- The surface roughness value can be set. See (1) to (5) in the figure to the right to see which surfaces can be specified.
Tip
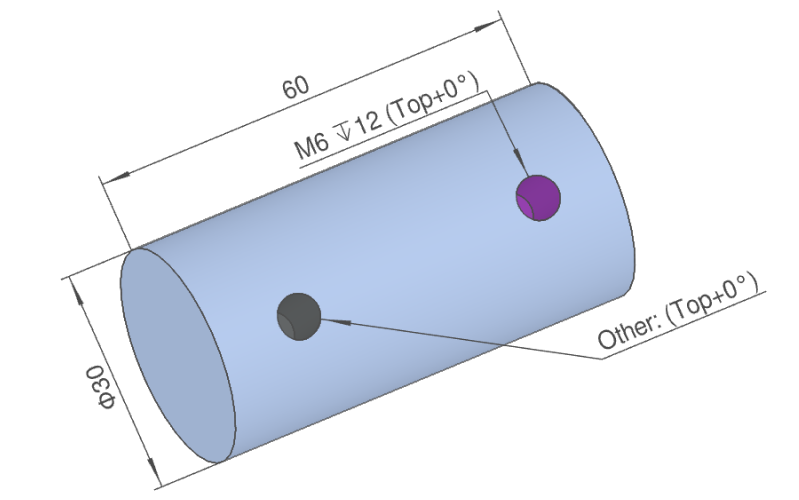
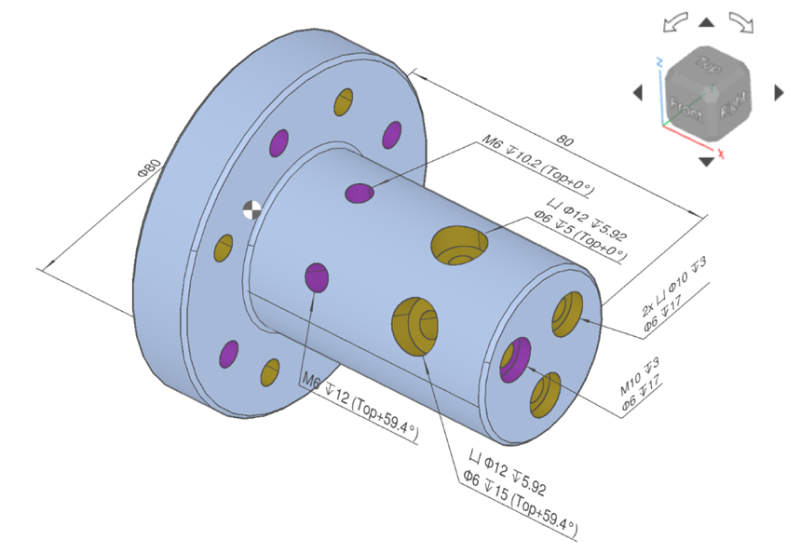
- Hole dimension notation follows the guidelines outlined below.
- The notation for the positional angles of holes on cylinder sides from lathe machining is also added.
Straight hole
[mm]
| Blind/Through | Blind | Through | ||
|---|---|---|---|---|
| Settings | None | Torelance H7, Effective depth 13 | None | Torelance H7, Effective depth 15 |
| Image |  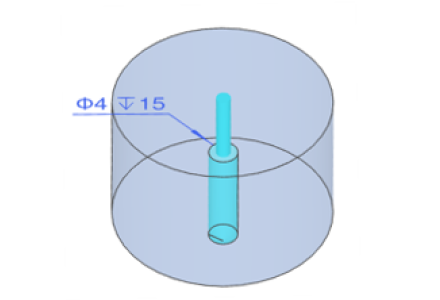 | 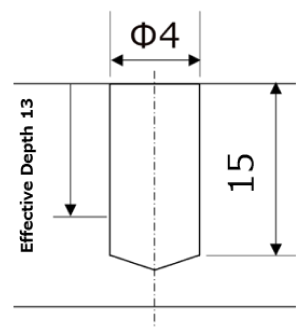 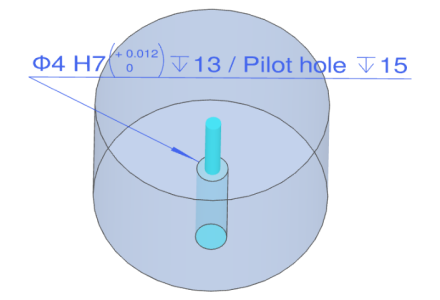 |  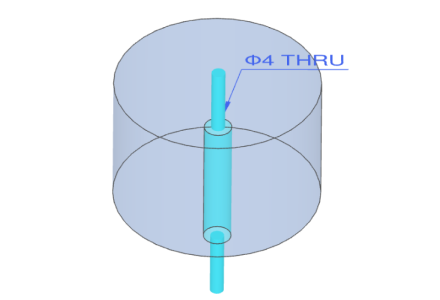 | 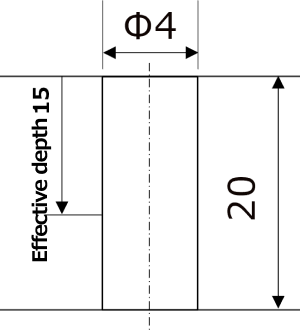 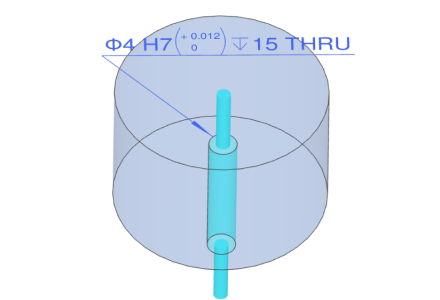 |
| 3D Viewer display | ø4 ↧15 | ø4H7(+0.012/0) ↧13/Pilot hole ↧15 | ø4 THRU | ø4H7(+0.012/0) ↧15 THRU |
Tapped hole
[mm]
| Blind/Through | Blind | Through | ||
|---|---|---|---|---|
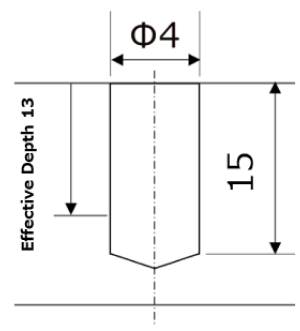
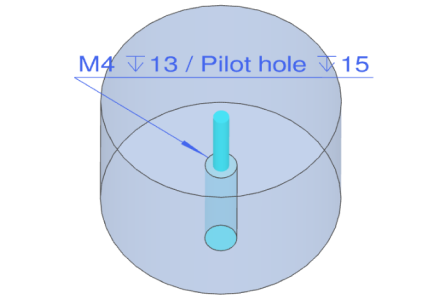
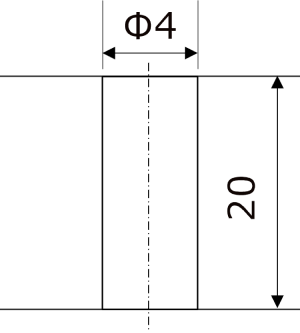
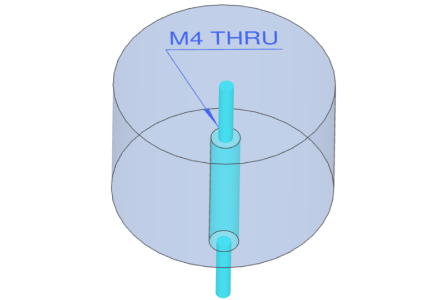
| Settings | Coarse thread | Fine thread: Effective depth 13 | Coarse thread | Fine thread: Effective depth 10 |
| Image | 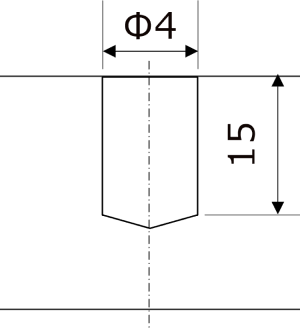 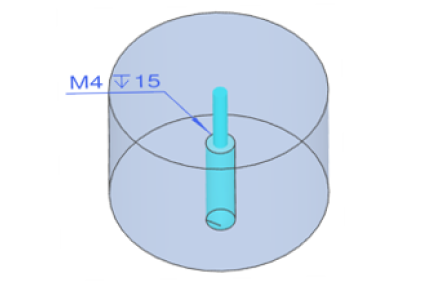 |
  |
  |
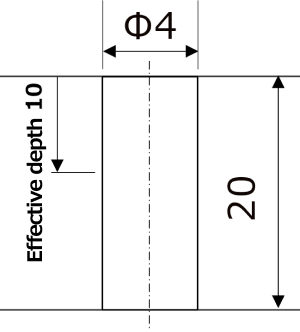 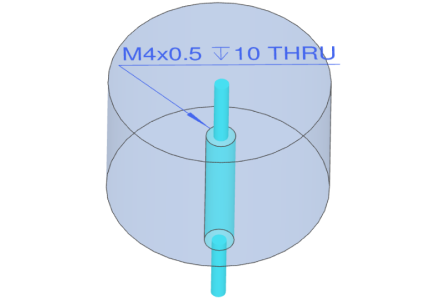 |
| 3D Viewer display | M4 ↧15 | M4x0.5 ↧13/Pilot hole ↧15 | M4 THRU | M4x0.5 ↧10 THRU |
Insert Hole
[mm]
| Blind/Through | Blind | Through |
|---|---|---|
| Settings | Nominal length 1D | Nominal length 1D |
| Image | 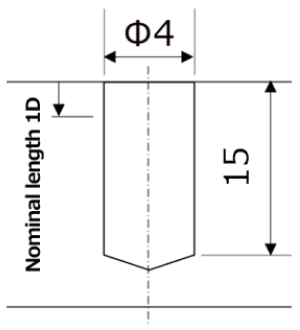 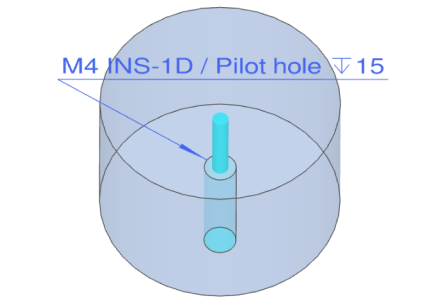 |
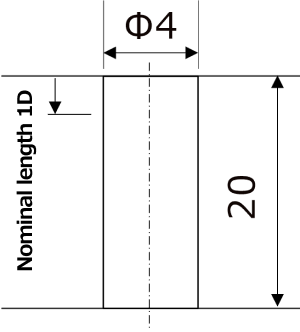 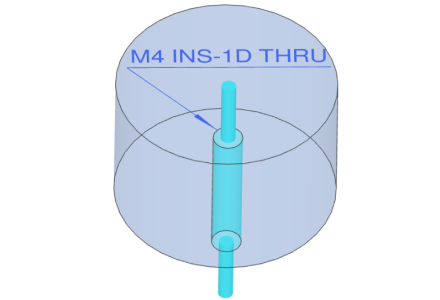 |
| 3D Viewer display | M4 INS-1D/Pilot hole ↧15 | M4 INS-1D THRU |
One-Step Hole
[mm]
| Blind/Through | Blind | Through |
|---|---|---|
| Settings | None | None |
| Image | 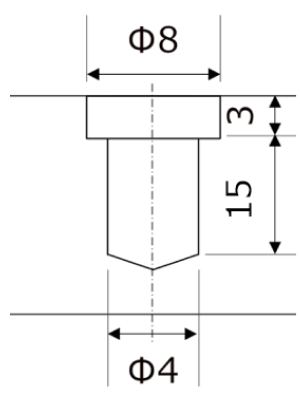 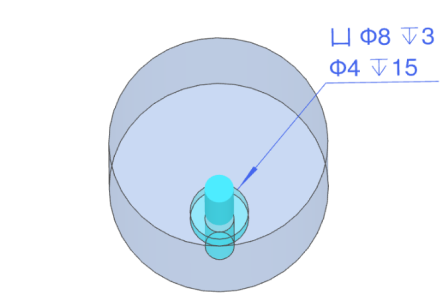 | 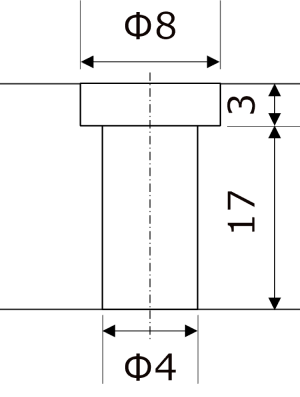 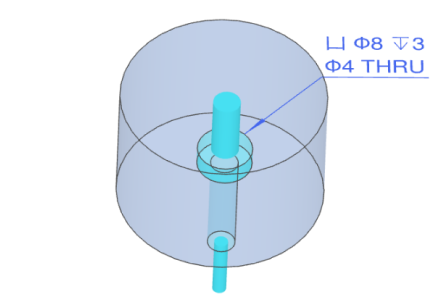 |
| 3D Viewer display | 凵 ø8 ↧3 | 凵 ø8 ↧3 |
| ø4 ↧15 | ø4 THRU |
*If the upper and lower rows are precision holes or tapped holes, the value at the end indicates the effective depth.
Two-Step Hole
[mm]
| Blind/Through | Through |
|---|---|
| Settings | None |
| Image | 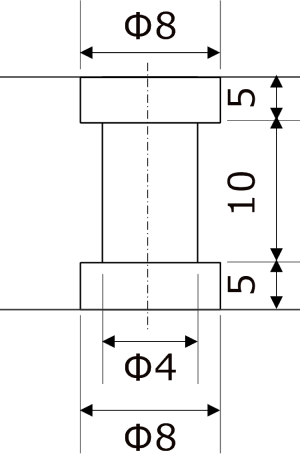 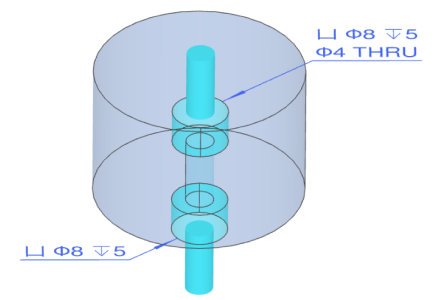 |
| 3D Viewer display | 凵ø8↧5 |
| ø4 THRU | |
| (Opposite side)凵ø8↧5 |
Countersunk hole
[mm]
| Blind/Through | Through |
|---|---|
| Settings | None |
| Image | 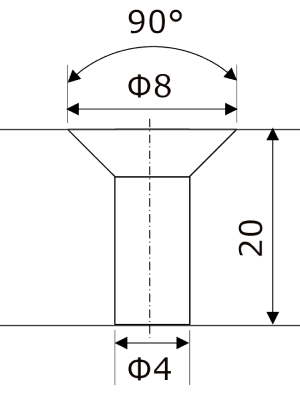 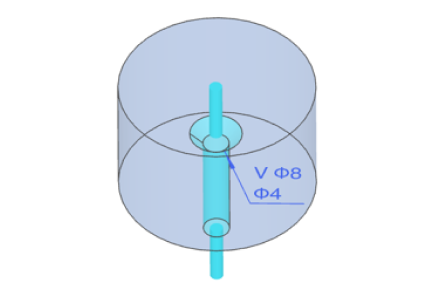 |
| 3D Viewer display | V ø8 |
| ø4 |
Notes
A hole that is oriented to the central axis is recognised as a “hole” supported by automatic quotation.
→CNC Turning > Cylinder Side Hole Recognition Conditions
