- HELP
- How to use
- Managing Projects
- Organizing Projects
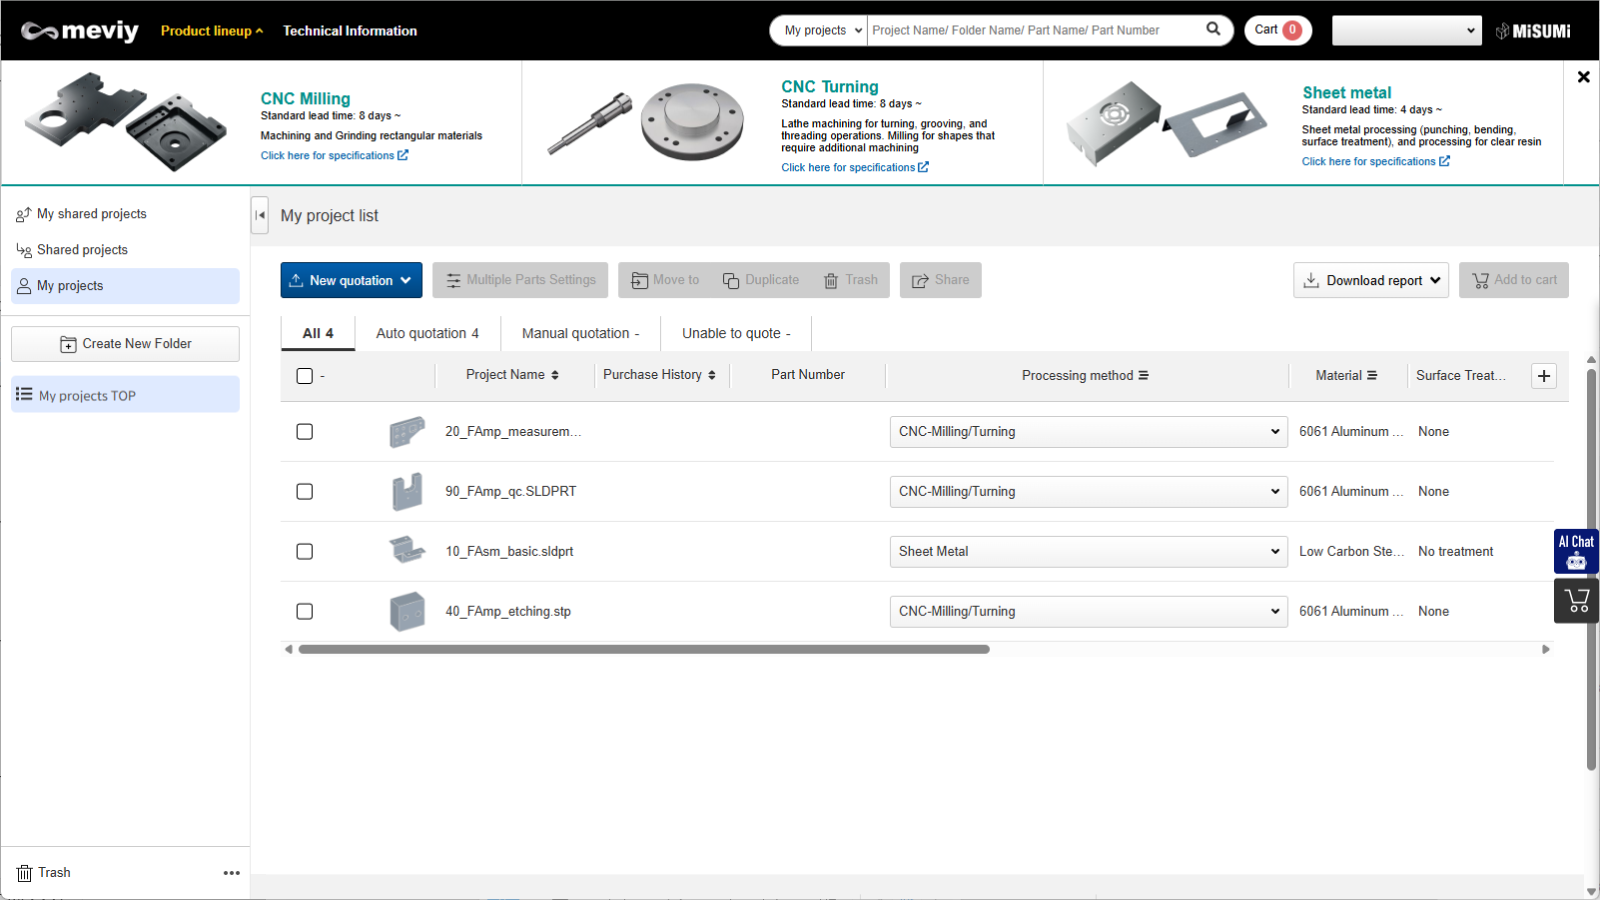
Organizing Projects
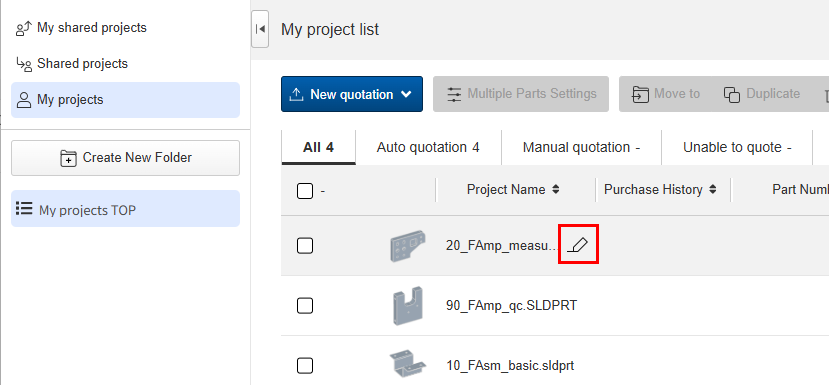
- Hover over [
 ] next to the project for which you want to change the name and then click [Change Project Name].
 - Enter the project name and click [OK].

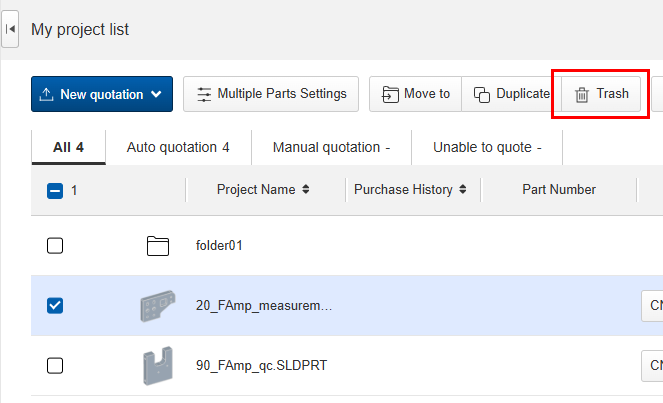
- Hover over [] next to the project you want to delete and then click [Delete].
- Click [Delete].
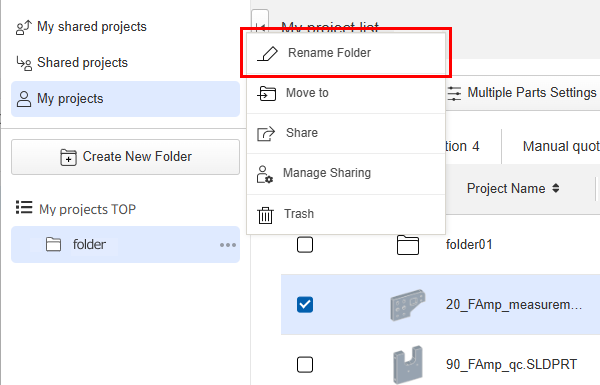
- Hover over [] next to the folder you want to rename, and click [Change Folder Name].
- Enter a name for the folder and click [Change].
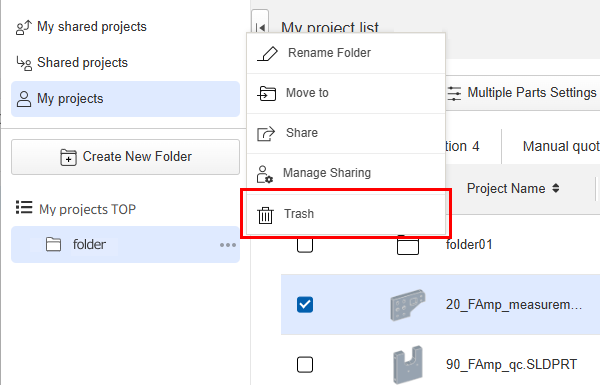
- Hover over [] next to the project you want to delete and then click [Delete].
- Click [OK].
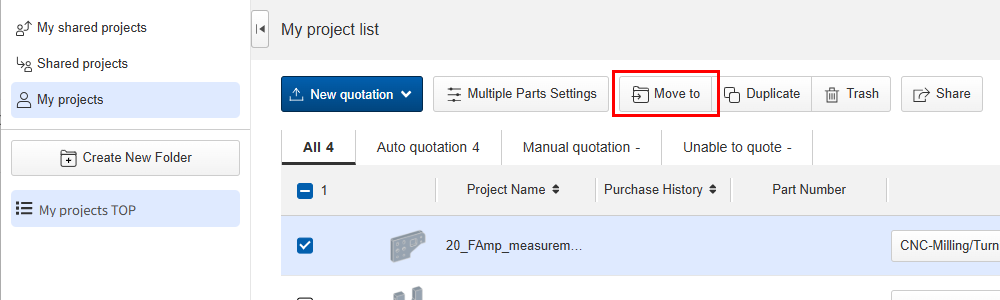
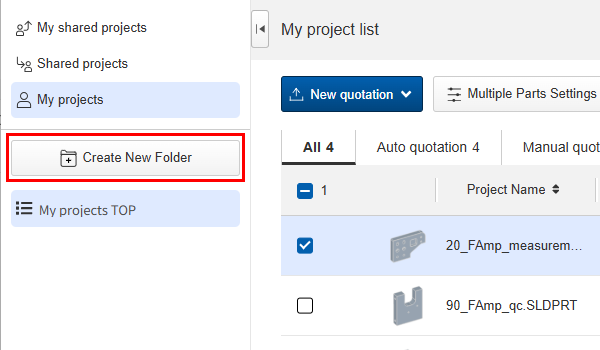
- Hover over [] next to the project you wish to move to a specific folder and click [Move to Folder].
- Select the destination folder and click [Move].
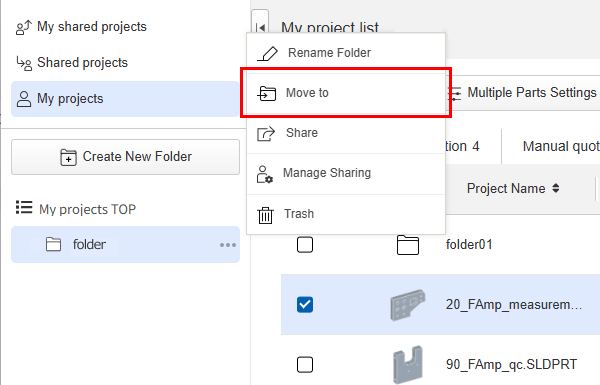
- Place the cursor on the folder to move.
- Click “
 ” when it appears.
 - Select the destination folder and click [Move].