- HELP
- How to use
- Quotation conditions settings
- [CNC Turning ] Quotation Settings
- Setting Surface Roughness
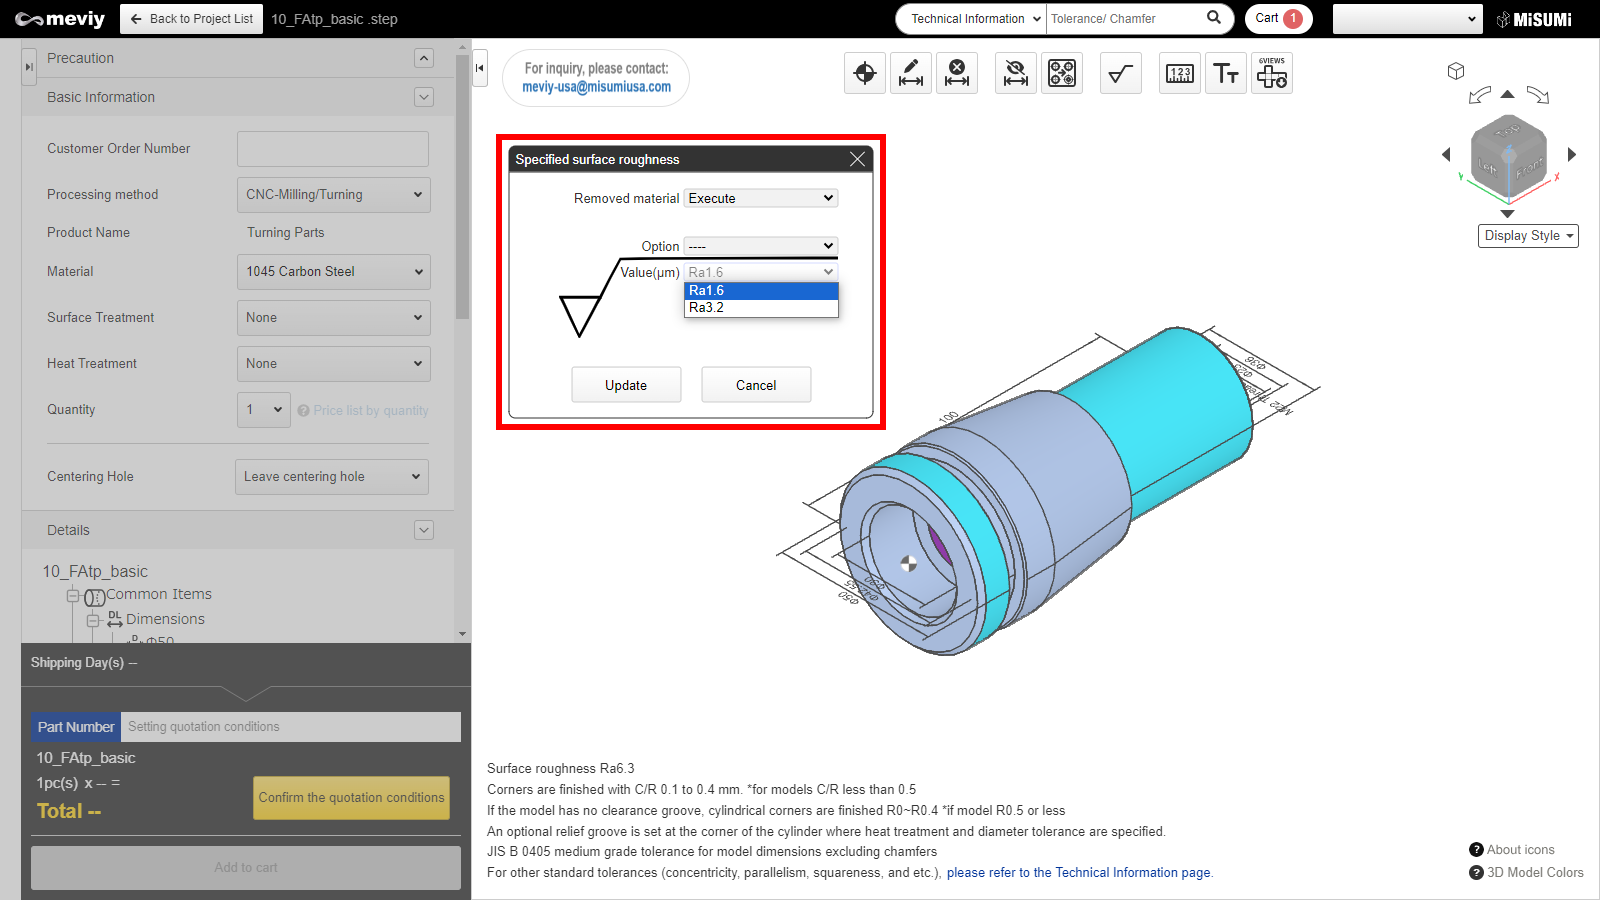
Setting Surface Roughness

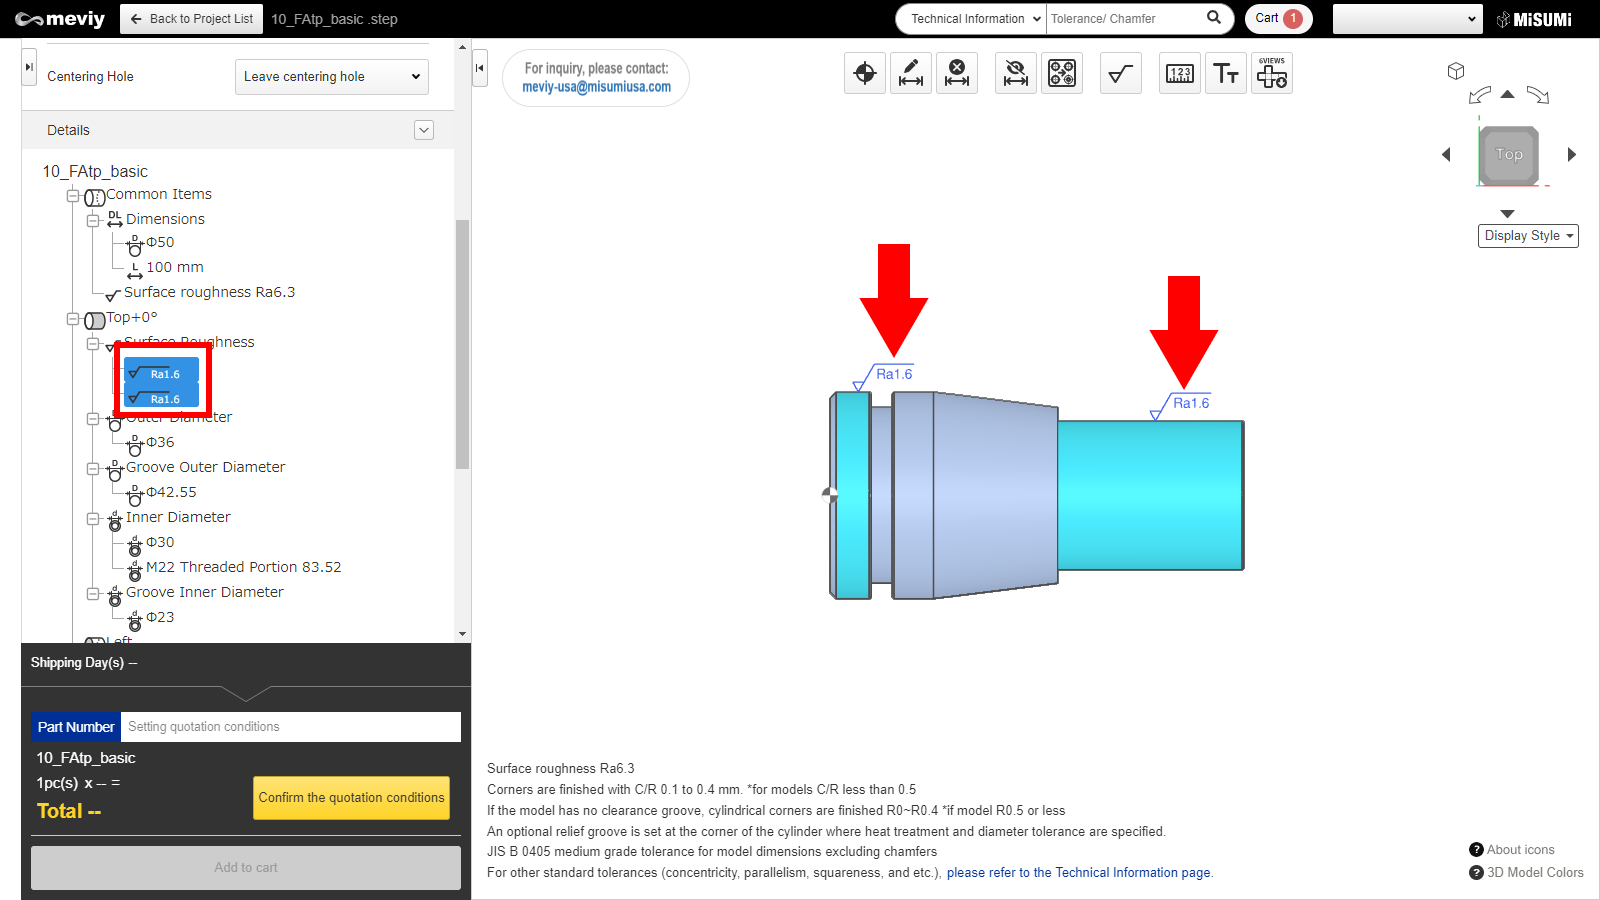
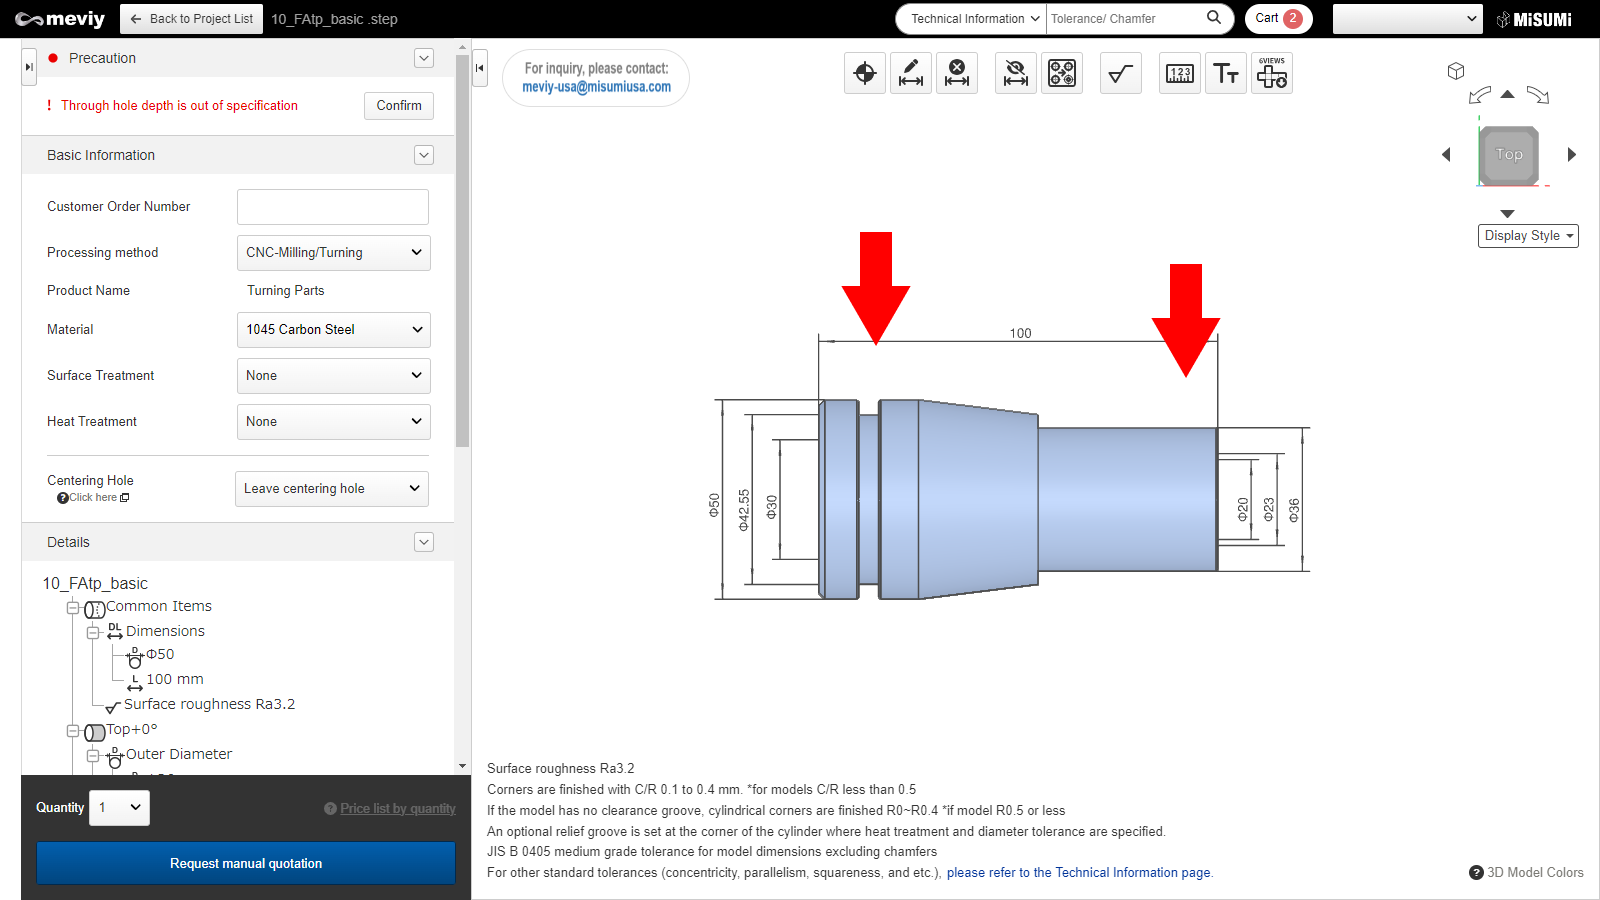
1. Click  , select the applicable surface, then click "OK."
Multiple applicable surfaces may be selected.
Tip
Surfaces that are not selectable are indicated by the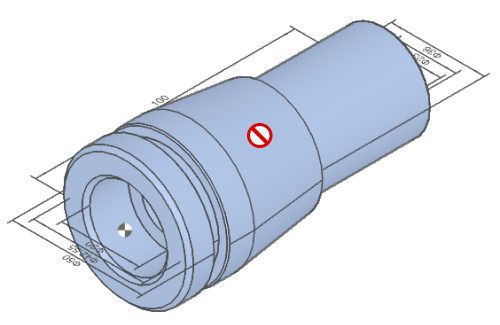
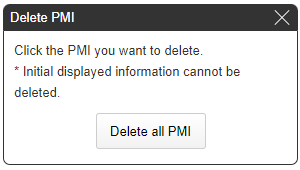
1. Click  Delete PMI, and select the surface roughness to delete.
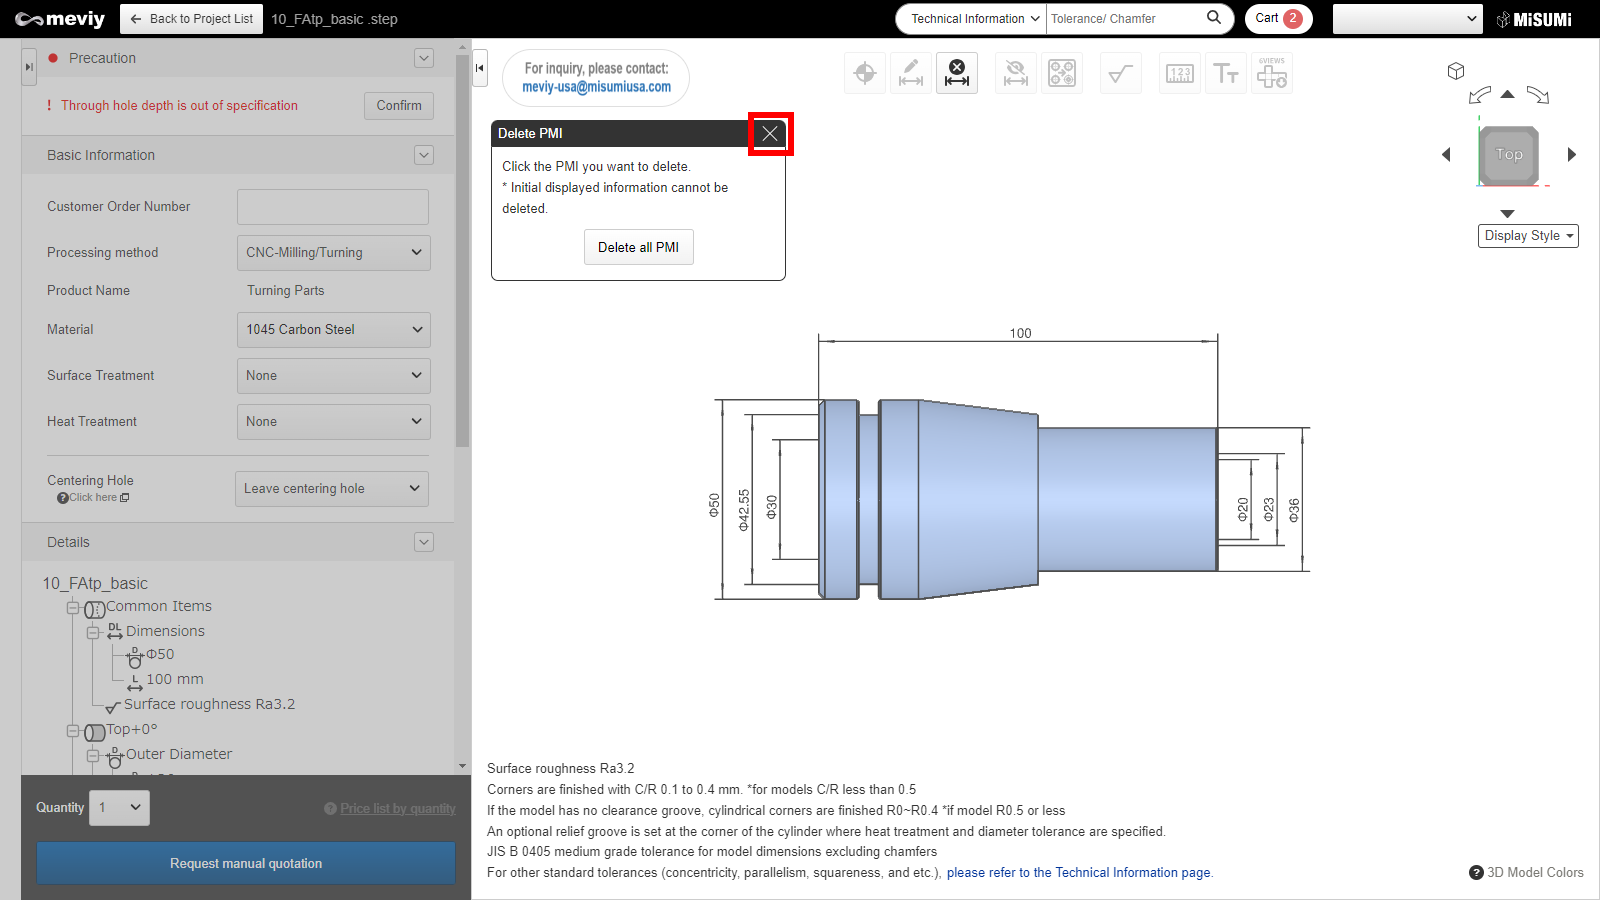
Caution
Please note that clicking the “Delete all PMI” button will delete all PMIs you have set.