- HELP
- How to use
- Quotation conditions settings
- [Welded Sheet Metal] Quotation Settings
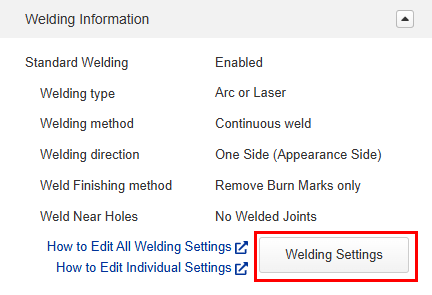
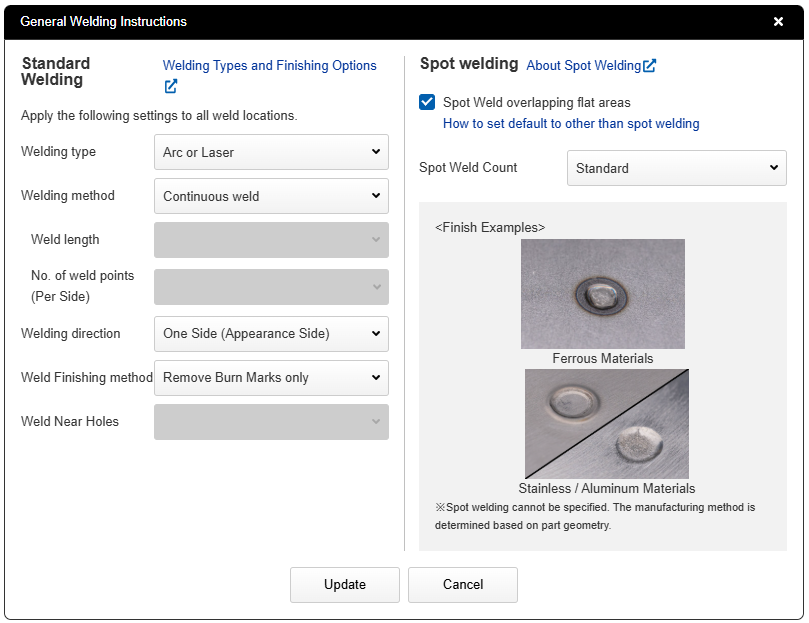
- Setting Welding Information
Setting Welding Information

Tip
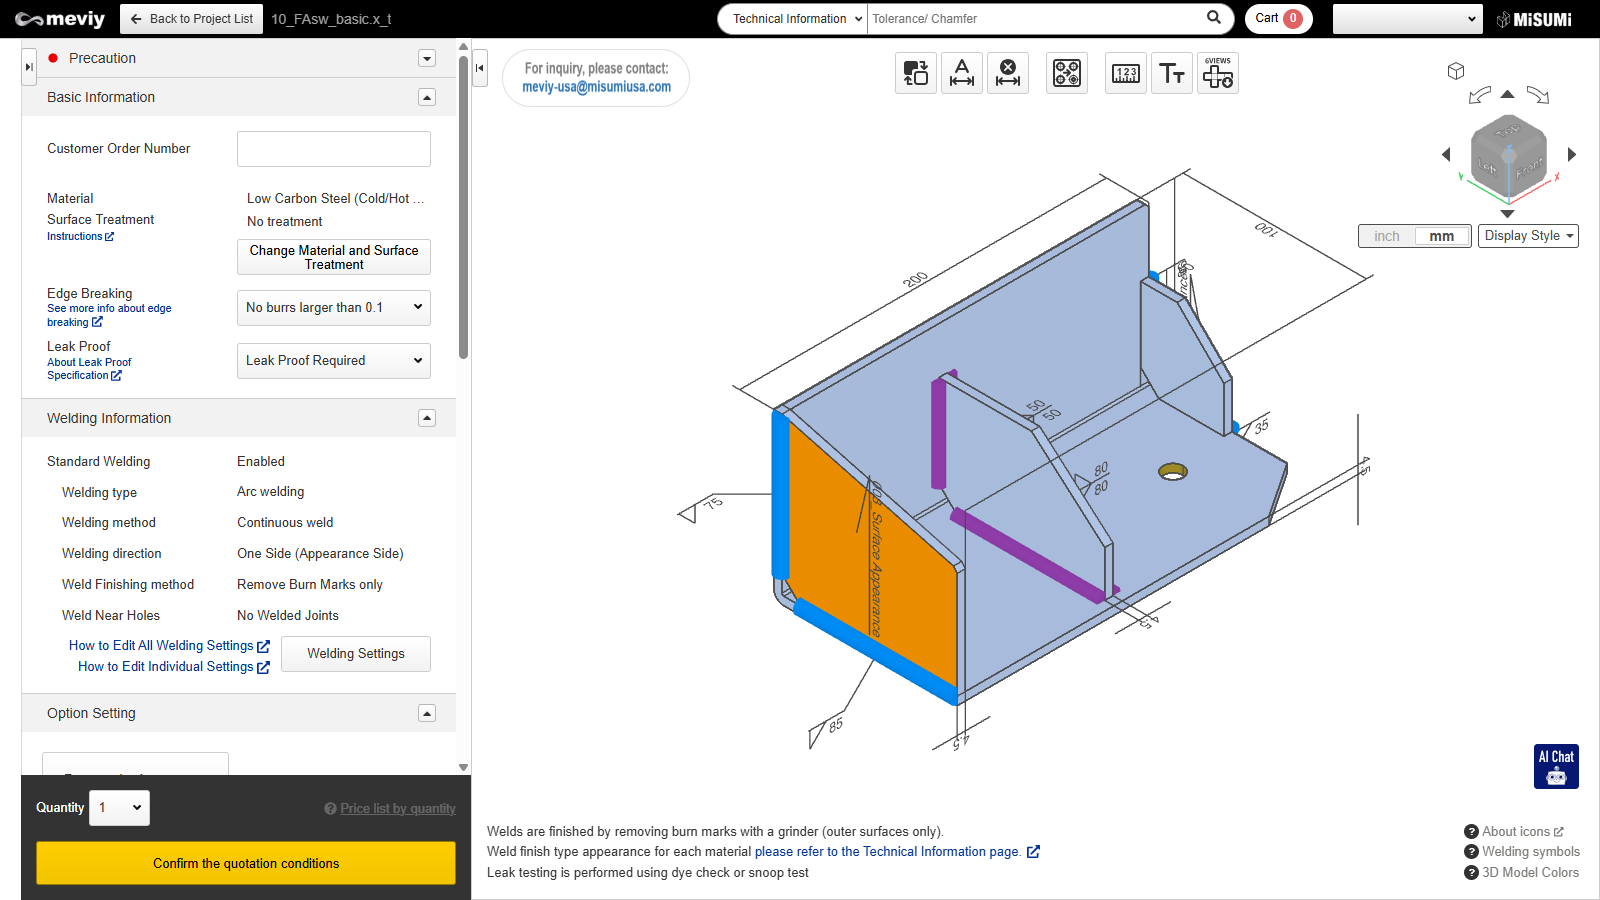
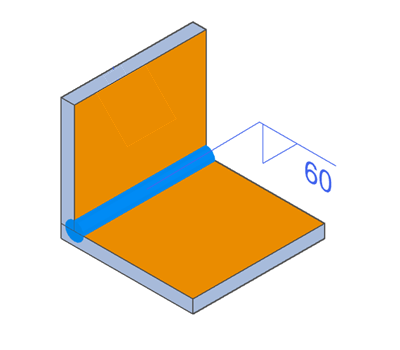
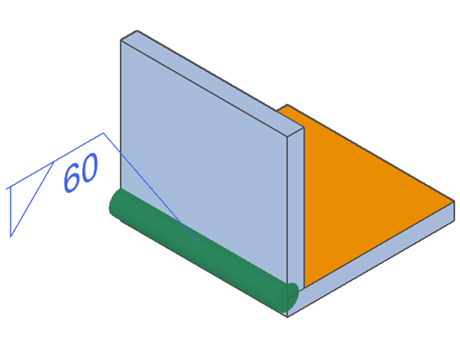
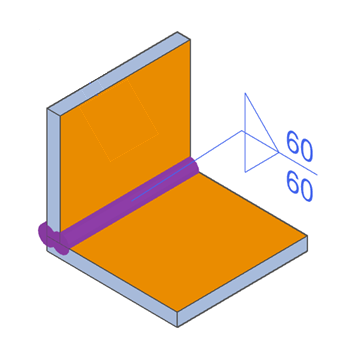
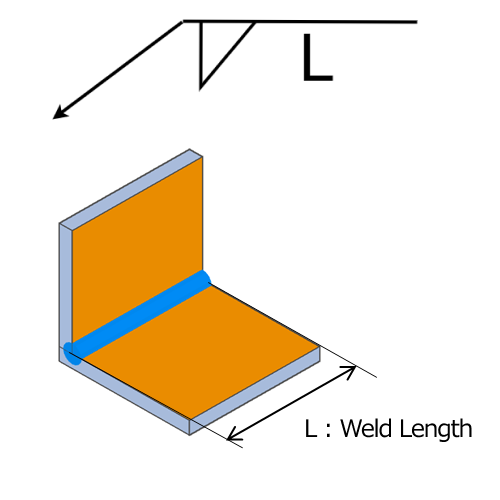
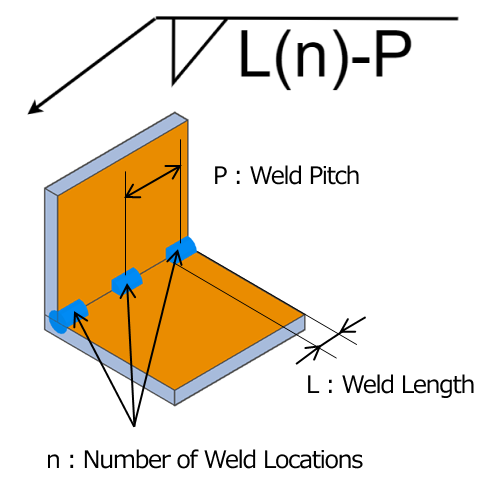
- The welding operation position is highlighted, and welding symbols are displayed for each welded edge.
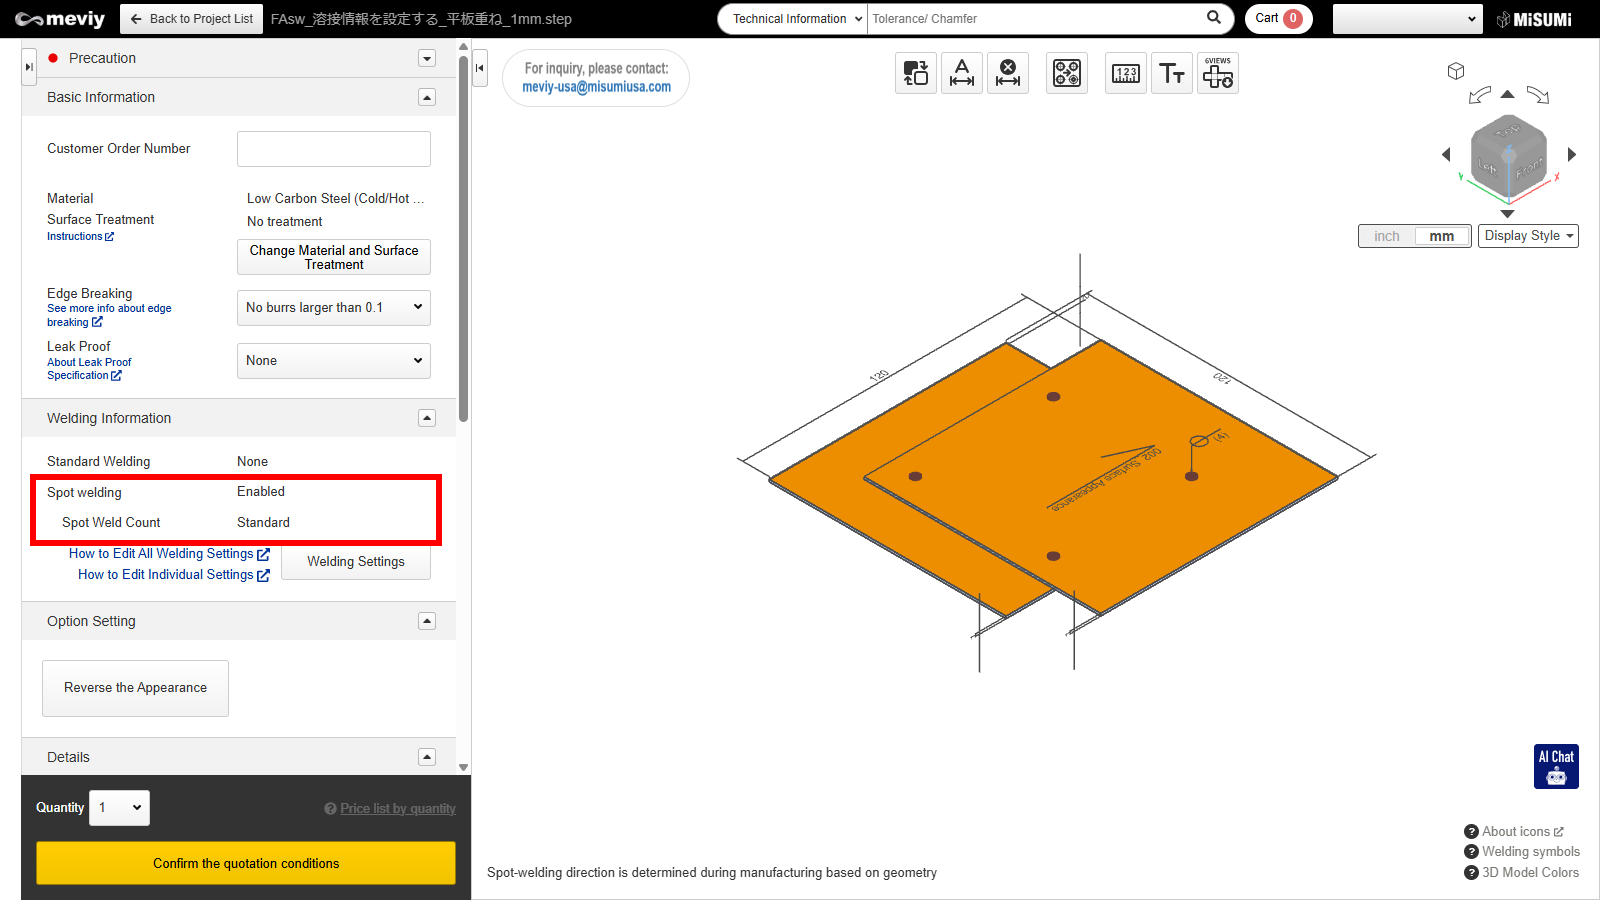
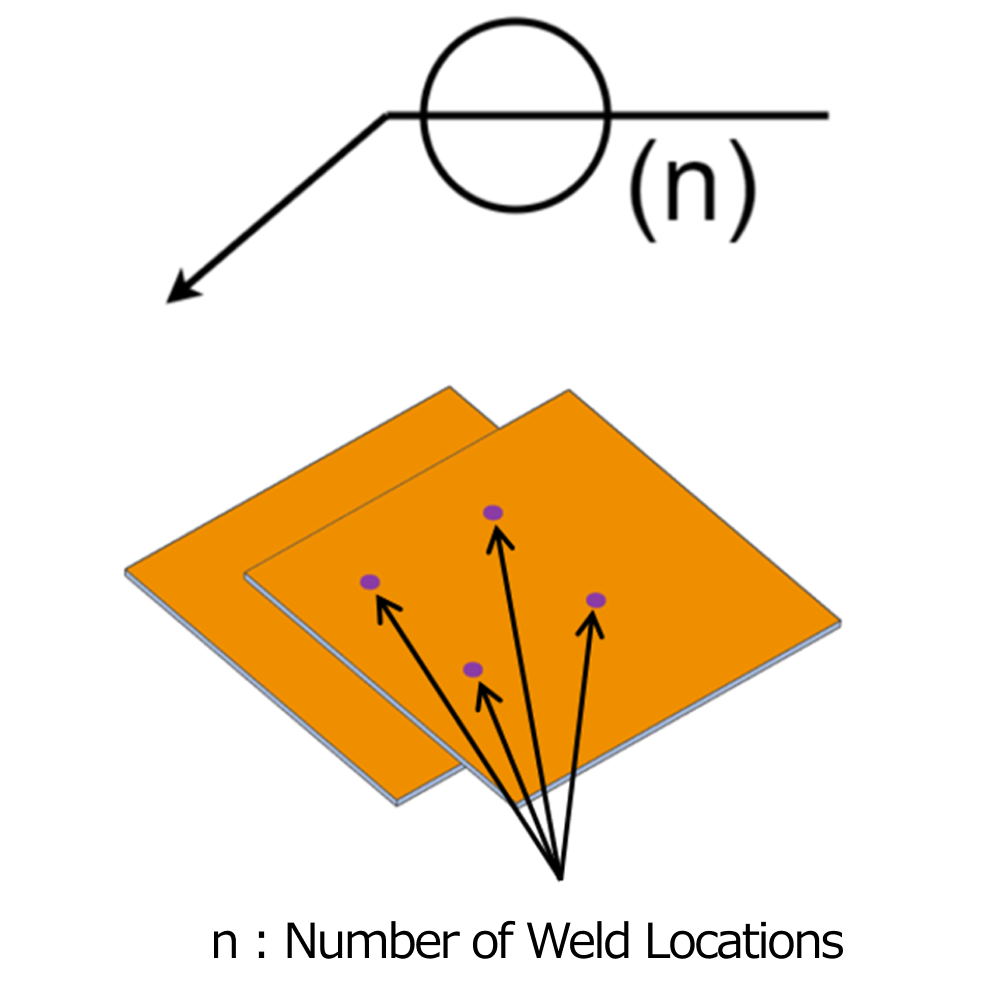
- When spot welding is selected, a cylindrical highlight is displayed at the spot welding position.
| Flat side (face-to-face welding) | Single-side (non-face-to-face welding) | Both sides welded | Spot Welding |
|---|---|---|---|
|
|
|
|

| Continuous welding | Intermittent welding | Spot welding |
|---|---|---|
 |
 |
 |